
Most high-profile athletes share one trait: a repeatable pre-shot process. Professional golfers build the same swing sequence every day, and how they approach the ball is where consistency starts. Baseball hitters set up in the batter’s box the same way every time, scratching their feet or kissing the bat in an identical order.
Basketball players run through identical motions on every free throw. You’ll see a repeatable sequence from all of them.
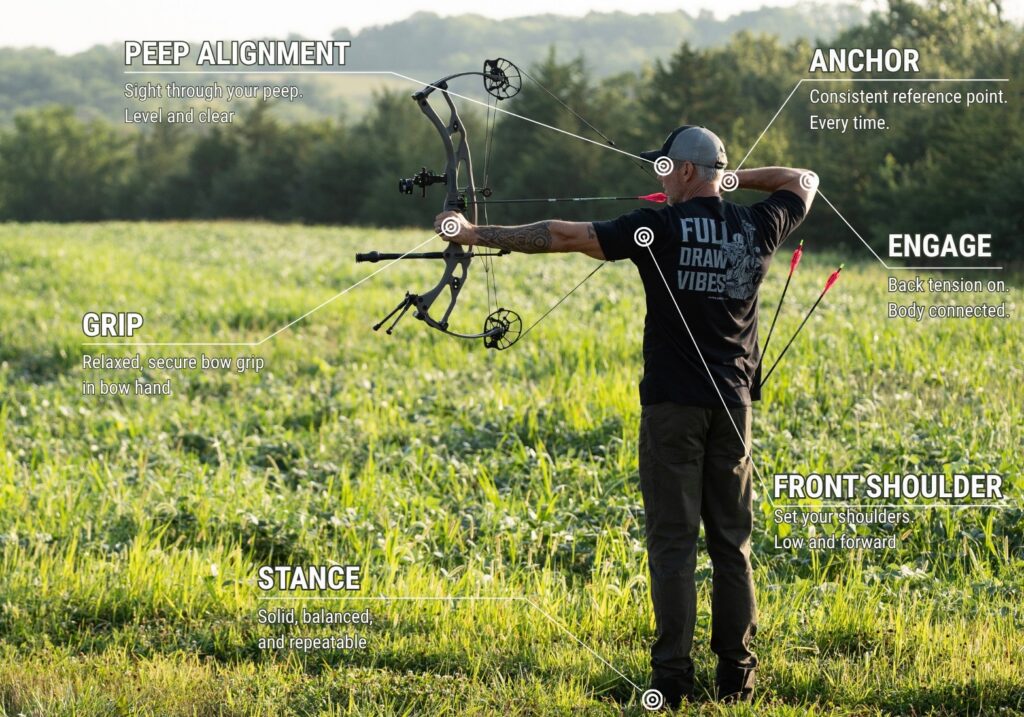
Archery demands that same discipline. A consistent routine executed before every arrow is what separates archers who group tight from archers who chase arrows around the target. I want to walk you through a fundamentally sound, repeatable shot routine in six steps.
Step 1: Set Your Stance
Every good shot starts with a good foundation. Before every arrow, look down at your feet and confirm your stance is exactly where it needs to be.
Open stance, closed stance, neutral stance: archers have different opinions on foot position. I prefer a neutral stance that’s slightly open, with the front left toe in line with the ball of the rear foot. For compound shooters, aim for a width of about shoulder-width apart, the same foundation you’ll find in almost every sport.
To build a repeatable stance with my students, I trace my feet on a piece of cardboard and let them stand in the footprints. That teaches them where to position their feet and how to stand in the same place every time. Try it yourself: get your feet where they need to be and trace them with a marker onto a piece of cardboard you can bring to the range.
After a few weeks, the cardboard won’t be needed. At most major indoor tournaments, you’ll see where I’ve outlined my feet on the floor with chalk. It’s easy indoors to vary where you stand, so those chalk marks confirm my feet are right every time.
Your shot routine begins the moment you step to the line and look down at your feet.
Step 2: Get a Grip
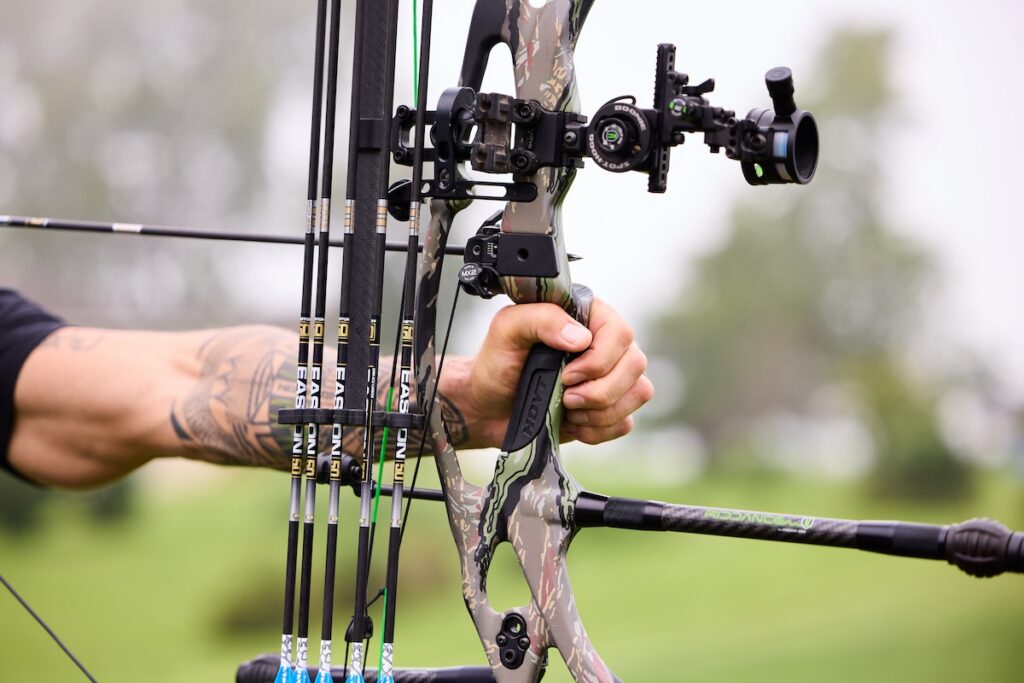
With your feet set, the next step is positioning your hand on the grip. Do this before you put any load on your hand.
If you’re using a longer stabilizer, set it on the ground and let the bow’s weight rest on the stabilizer, then position your hand. If you’re shooting short stabilizers, let the bow rest on the inside of your leg or against your bow sling and place your hand where it needs to go without having to hold the bow. I’ve seen too many archers draw back and then move their hand around at full draw until they find the spot they want. That builds torque into the bow and sends arrows left and right.
Keep your bow arm relaxed from the front elbow all the way to the fingertips. If your knuckles turn white when you shoot, ease up. There’s no reason to put a death choke on the bow, and it’ll hurt your accuracy way more than help it.
The bow handle needs to sit between the thumb joint and the lifeline wrinkle in your palm. Don’t get so deep into the grip that the handle passes the center of your palm.
For a tension-free grip, let your natural bone structure support the bow weight, you don’t need to grab it or squeeze it to stay in place. When you lean against a wall, your skeletal structure does the work. The same principle applies to your grip.
Lay your hand on the handle, apply enough pressure to confirm placement, then leave it there until after the shot. If it doesn’t feel right at full draw, let the bow down and start over.
Look at your feet and get a grip.
Step 3: Position Your Front Shoulder
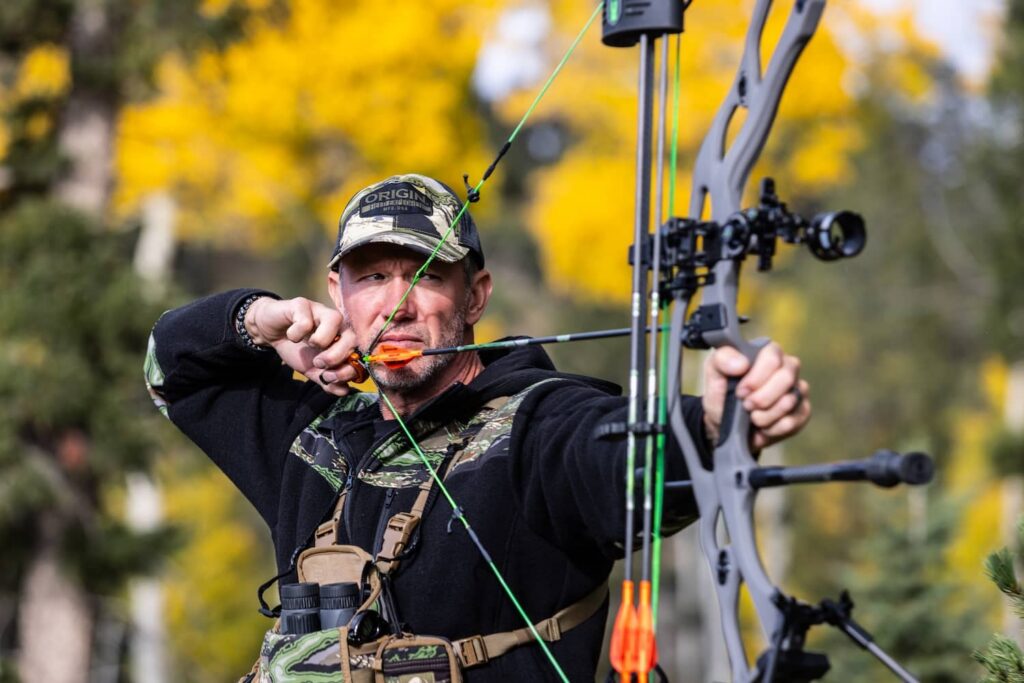
A lot of archers overlook this next step: positioning the front shoulder. A good fit to your bow on every shot depends on where you set that front shoulder first so you are the same size every time.
I made an adjustment to my form by lengthening my draw and getting my front shoulder down and forward and it was a game changer. For years I’d shot with a high shoulder, and the shoulder tends to creep up toward the neck as you fatigue.Bad results on the target follow. I see this even with archers who have solid form: the longer they shoot, the front shoulder rises and causes a missed arrow.
Sometimes you can draw, set your finger on the trigger, and make an effortless shot. Other times you’re pulling as hard as possible and the release won’t break. That’s most likely the result of setting up with your shoulder in the wrong position.
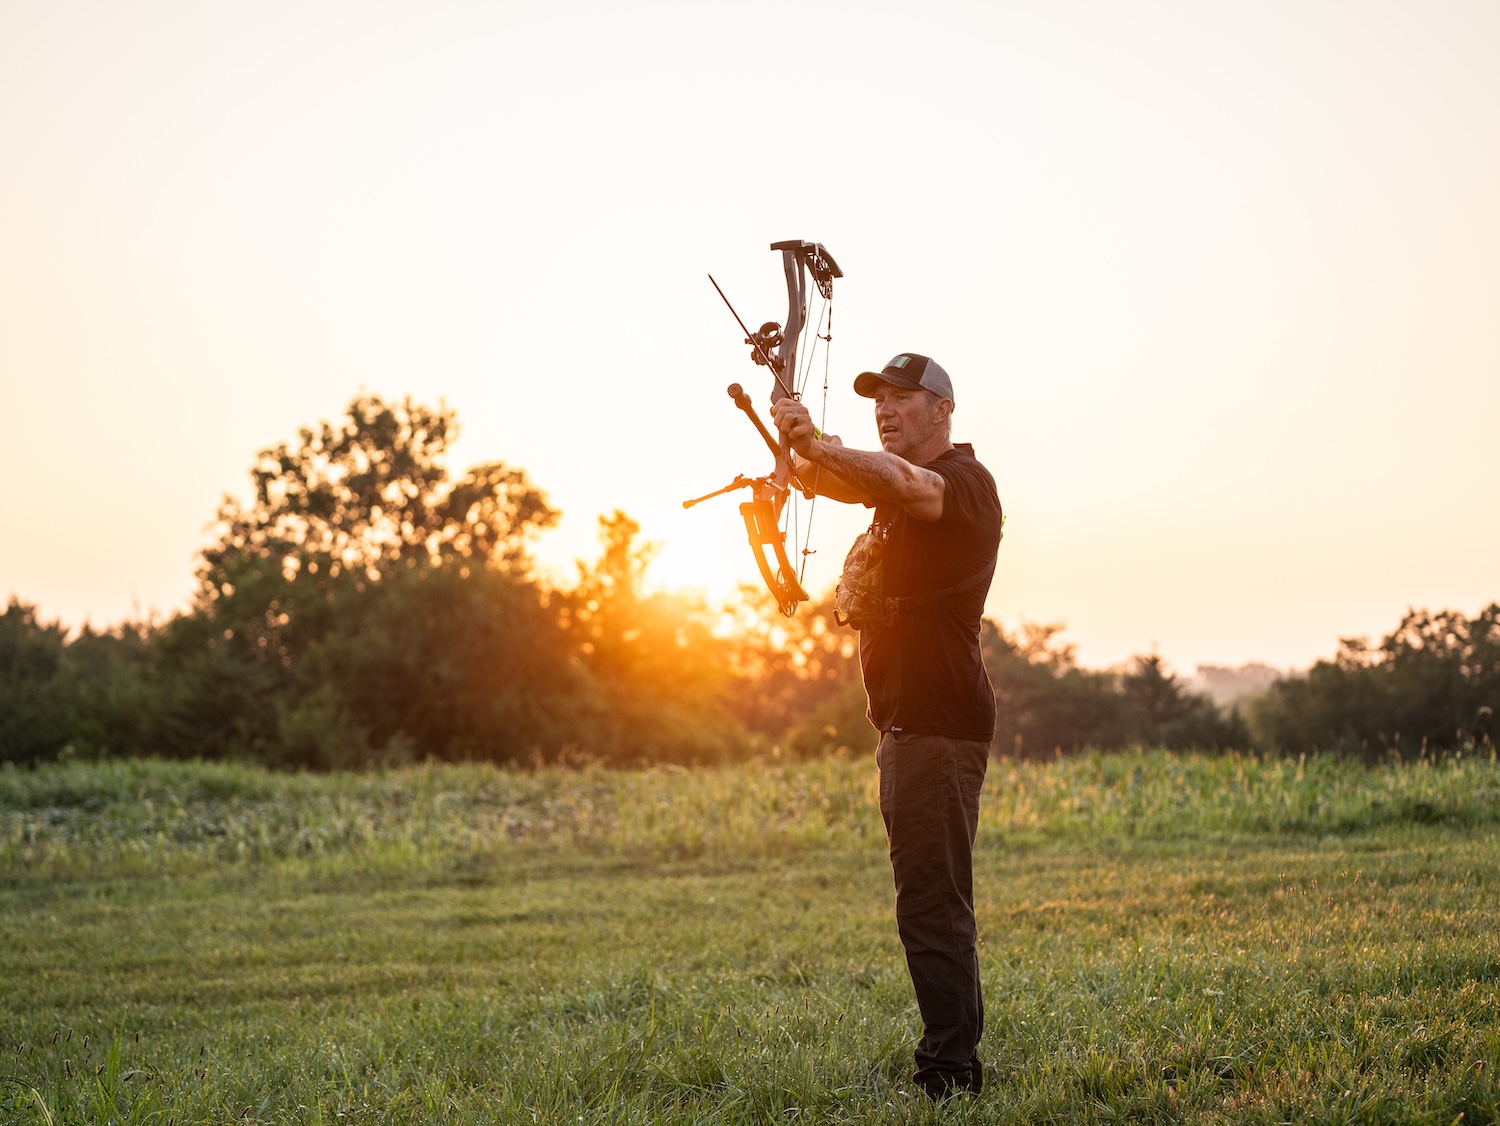
The easiest way to find the right position: lift your bow arm straight up from your side, then pull the bow back to you. Your front lat muscle holds the shoulder down.
Pushing and pulling at the same time to draw makes it too easy to get the shoulder into a bad position. Lifting the bow arm up and pulling to your face keeps the load off your trap muscles and rear deltoid.
Get your shoulder positioned before moving on.
Look at your feet, get a grip, and position your front shoulder raise the bow and DRAW.
Step 4: Draw and Anchor
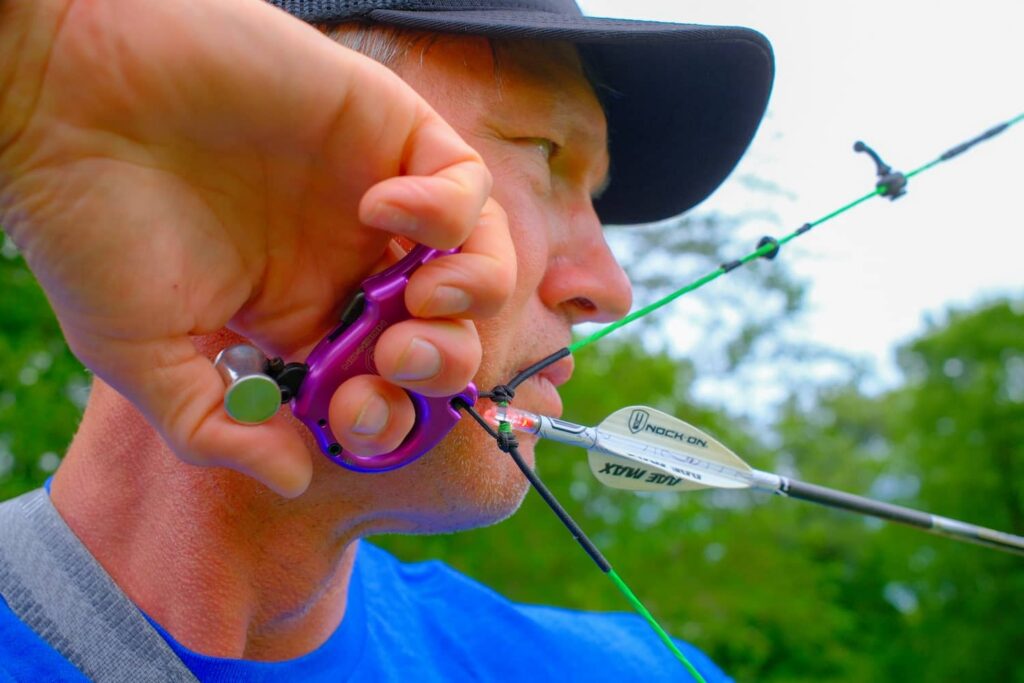
You’re halfway through your shot routine. The next step: draw the bow and anchor.
Your anchor point matters that much: without a consistent anchor, forget about consistent arrows. I teach archers to use the spacing between the pointer finger and middle finger knuckles. The V shape between those fingers fits perfectly along the jaw line, giving you a repeatable anchor point you can feel.
I get asked almost every time I work with a student: how flat or vertical does the release hand need to be? That depends on your forearm flexibility.
Jeff Hopkins, for example, has a very vertical release hand. I can’t twist mine that far. My release hand is not flat but about 35 degrees to match my face shape, and as long as I feel my anchor on the jaw line, the arrows fly true.
Consistency is what counts. If you shoot with a flat hand, keep it flat. Changing hand position changes how your loop comes out of the release and changes where arrows land.
Look at your feet, get a grip, position your front shoulder, and anchor.
Step 5: Align the Peep
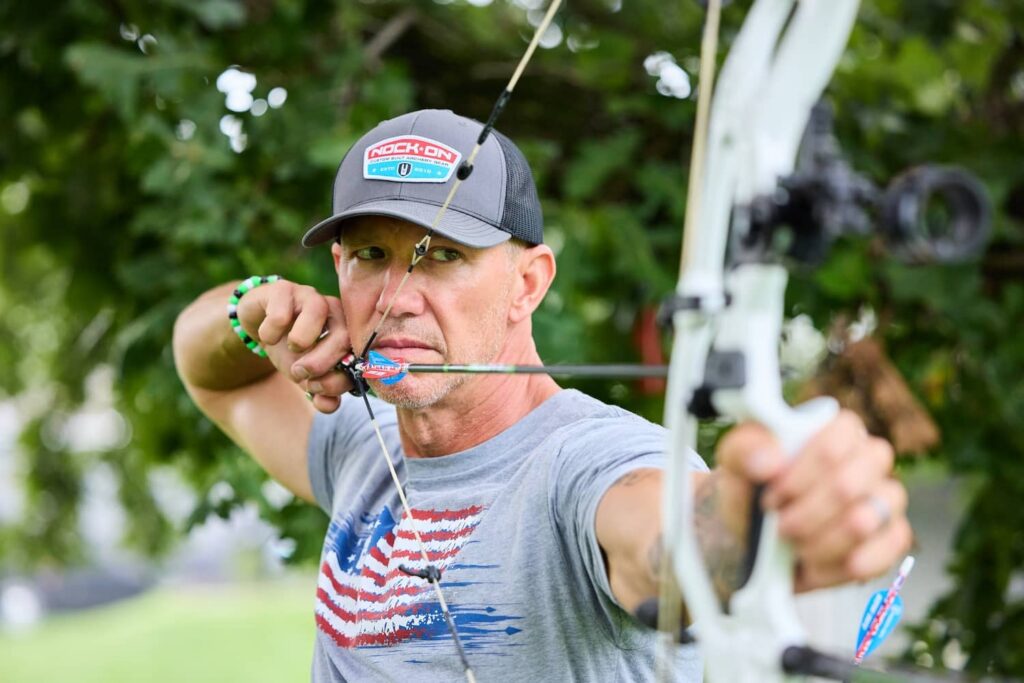
You might think this step belongs with the anchor. I keep it separate on purpose.
After anchoring your release hand, bring your nose forward to barely touch the string and align your peep sight. I don’t draw the bow and bring the peep to my eye, which I see a lot of archers doing. Pulling back and bringing the peep to your eye usually means an inconsistent anchor, which puts arrows off target and creates inconsistent sight markings.
Come into the peep after the anchor is established. Once you’re looking through the peep, center the scope, level the bubble, and get your pin onto the scoring ring.
I don’t waste time getting my scope on target. My whole shot routine runs 11 to 14 seconds when I’m practicing at home.
At a major event, the pace may slow but in a hunting moment it will speed up. If you can get your routine under 15 seconds, you’ll have room to add a few seconds when nerves kick in.
Consciously recite your steps in your head. Make it a habit!
Look at your feet, get a grip, set your front shoulder, anchor, and align the peep.
Step 6: Engage & PULL THROUGH
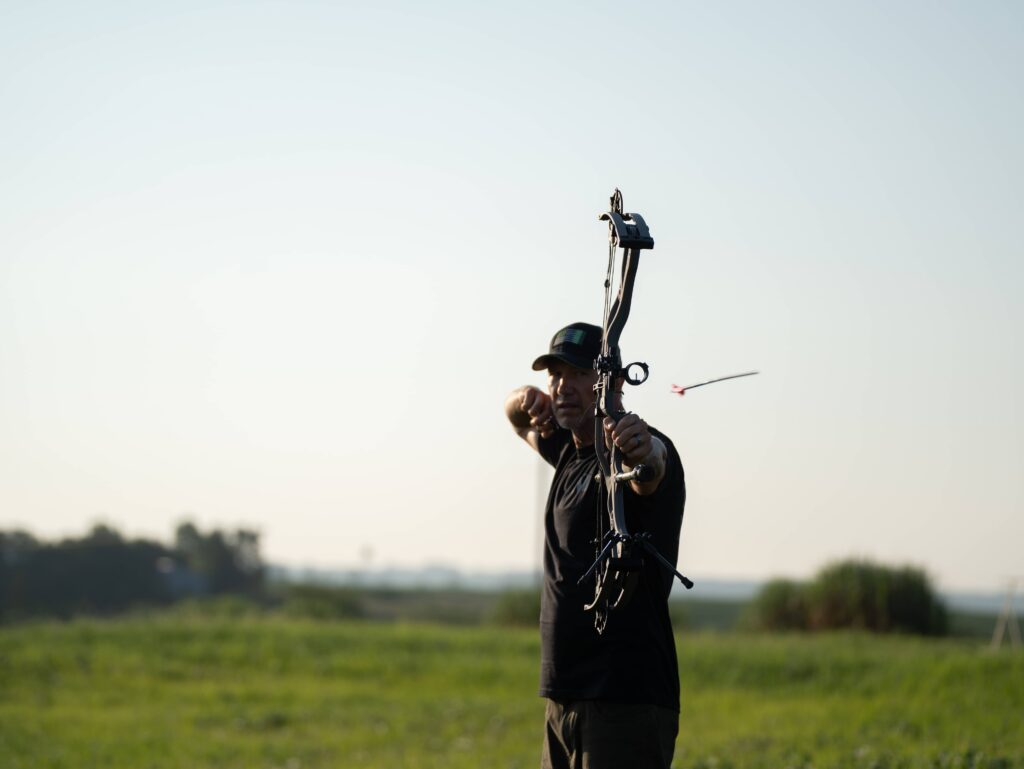
The last step is firing the arrow, but I’d rather call it Engage.
Engage your shot by starting the motion to activate your release aid. Everyone activates the release differently, and I won’t go into release mechanics or back tension here. What matters is a method of firing a surprise shot: the most important part of archery.
I say “Engage” in my head, and the pulling motion starts. Once I’ve committed to that motion, if the release doesn’t happen within about seven seconds, I let the bow down and restart. Forcing the shot costs points.
Don’t be afraid to cancel and start over. That discipline is what the best archers have, and it’s what separates them from everyone else.
Load it into your mind: look at your feet, get a grip, position your front shoulder, anchor, align the peep, and engage.
Make It a Habit
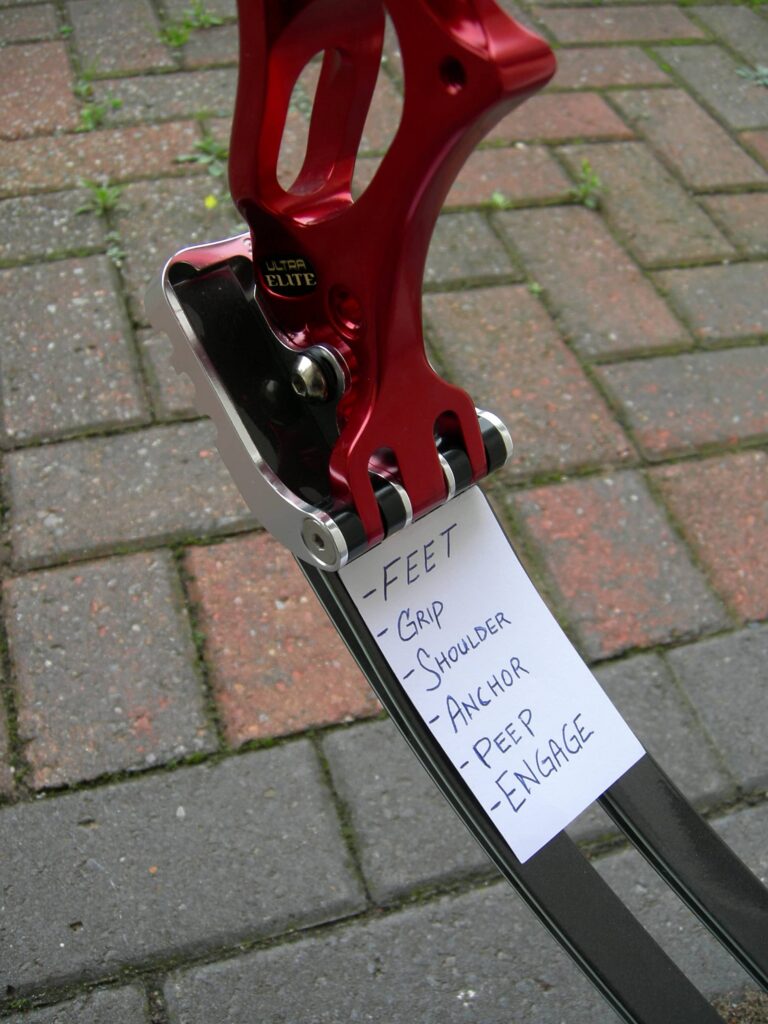
I teach this routine by writing it on cardboard and putting it on the ground in front of my students. Do the same to become as systematic as possible.
Visualization is one of my go-to training aids, and I use it in more ways than one. Run this sequence in your mind and burn it into memory.
Feet, grip, shoulder, anchor, peep, and engage. Feet, grip, shoulder, anchor, peep, and engage. Feet, grip, shoulder, anchor, peep, and engage. Feet, grip, shoulder, anchor, peep, and engage.
It’s what you have to do. Good luck and good shooting.