
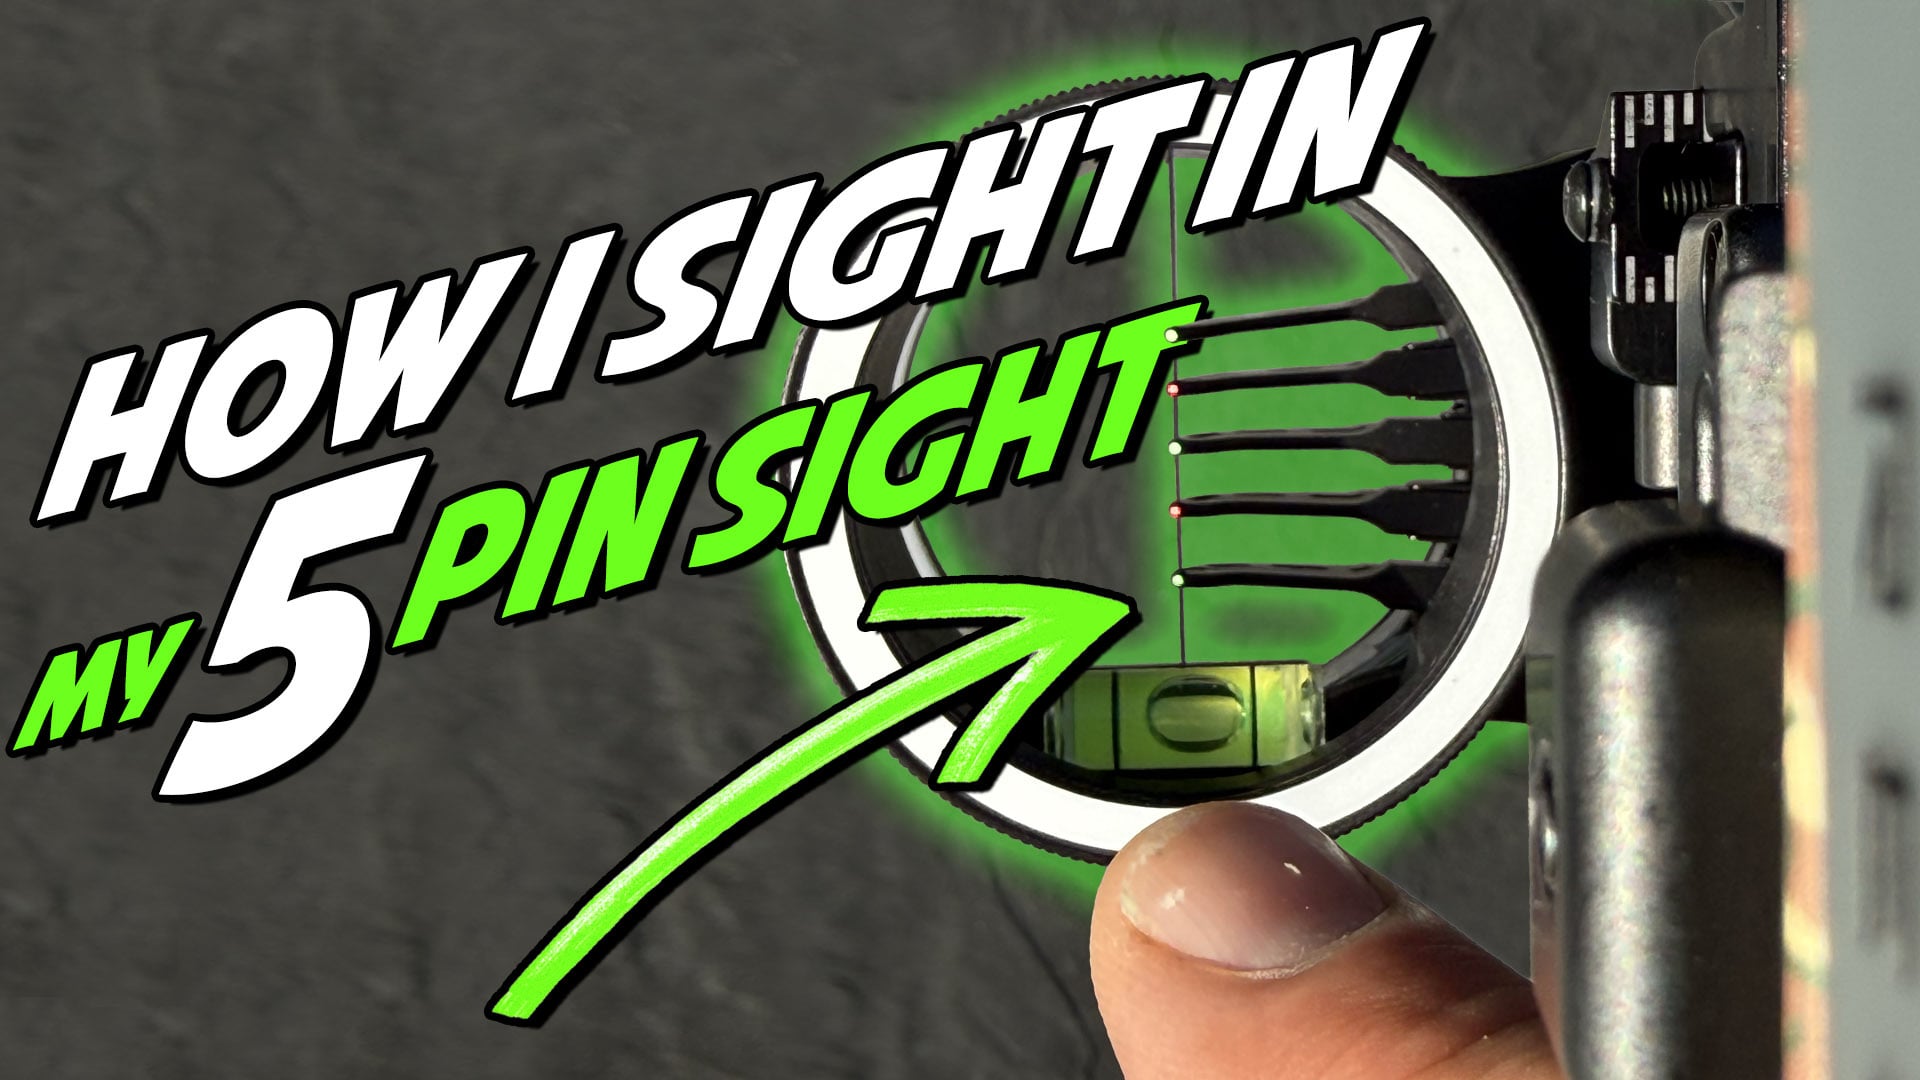
I sight in my five-pin sight backward. It might sound unorthodox, but starting at 60 yards and working forward gives me maximum pin clearance inside my scope and sets me up to build a custom sight tape afterward.
Here’s my full process for dialing in all five pins and then building a Spot-Hogg sight tape to extend my range out to 110 yards.
Start With Your Bottom Pin at 60
I make my first adjustments on the side of the housing. I drop the bottom pin as close to the bubble as I can get it and leave just a little room above and below.
Positioning the bottom pin near the bubble maximizes the space for your remaining four pins and gives you the most arrow clearance through your scope. The lower that bottom pin sits, the more usable range you get out of the housing.
Once the pin sits where I want it, I step back to 60 yards and adjust the elevation wheel until I’m dead center on the target. My first arrow hit way high, so I made a small wheel adjustment and brought it right in. That 60-yard mark becomes my “home base,” and I lock it in place.
From there, I walk forward and set each remaining pin one at a time: 50, 40, 30, then 20. I’m working from far to close, the opposite of a typical sight-in process. Starting at the bottom and moving forward keeps every pin positioned properly inside the housing without running out of space.
Build a Sight Tape With Two Reference Marks
With all five pins dialed, I move on to building a sight tape. The tape turns the bottom pin into a rover for distances past my farthest fixed pin.
I grab a blank piece of sight tape and peel off the backing. I leave about one inch stuck at the bottom to create a removal tab.
That tab is key. Once I’ve marked my reference points, I need to pull the tape off cleanly so I can lay it against the Spot-Hogg tape scales for comparison.
I stick the blank tape on the sight and mark my 60-yard home base position. Then I walk back to 100 yards and slowly roll the elevation wheel on my way back. At 100, I shoot until I’m dead center, put two arrows side by side to confirm, and mark that position on the tape.
Two reference points now sit on the blank tape: my 60-yard home base and my 100-yard mark. If 100 feels like too much distance, 90 yards works for that second reference.
Match Your Marks to a Spot-Hogg Tape
I roll the sight back to home base and lock it in place. Then I peel off the blank tape using the tab at the bottom.
I line up my 60 and 100 marks against the Spot-Hogg sight tape scales to find the scale where both distances align. For my setup, scale 11 was the match. I cut the Spot-Hogg tape right at the 60-yard line to match my home base, then apply it to the sight.
My top needle now sits on 60 (home base), and the bottom pin becomes my rover for any distance out to 110 yards.
The Full Sight-In Sequence
- Adjust the housing so your bottom pin sits as close to the bubble as possible.
- Sight in the bottom pin at 60 yards and lock it as your home base.
- Walk forward and set your 50, 40, 30, and 20-yard pins.
- Stick a blank tape on the sight with a removal tab and mark your 60-yard home base.
- Walk back to 90 or 100 yards, dial in, and mark that distance on the tape.
- Remove the blank tape and match your 60 and 100 marks to a Spot-Hogg sight tape scale.
- Cut and apply the matched tape at the 60-yard mark.
- Lock your top needle at 60 (home base), and your bottom pin rovers the rest.
For a different take on the home base concept with a movable sight, check out my two-pin sight setup breakdown.