
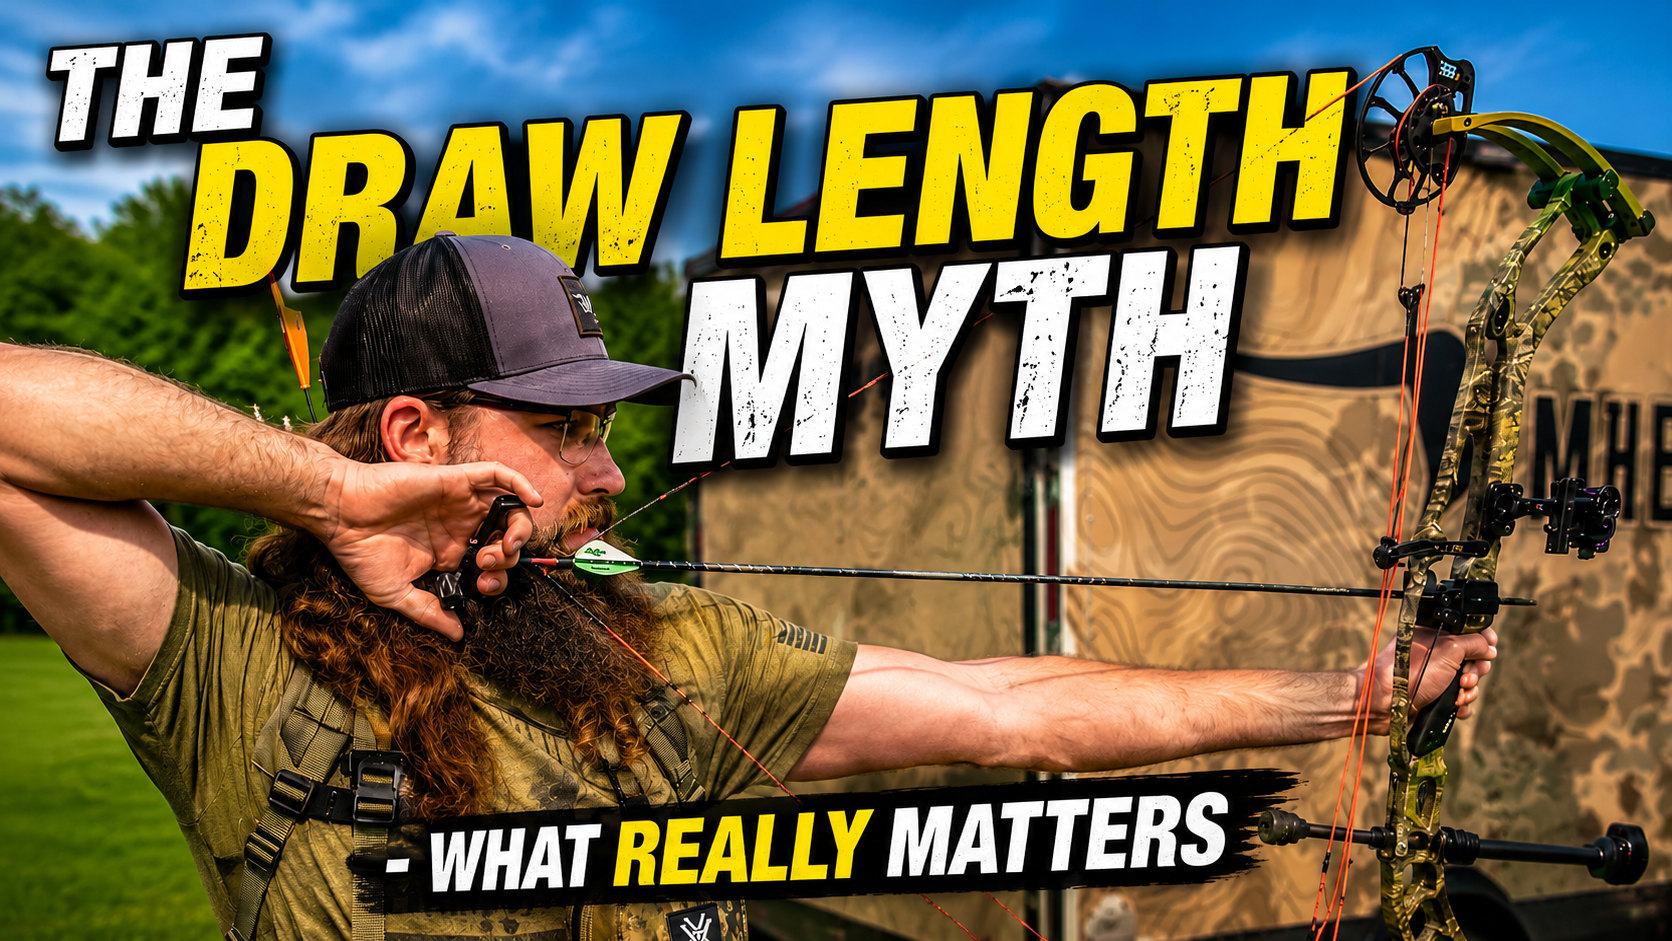
At nearly every Total Archery Challenge (TAC) event I attend, I see archers obsess over whether they’re a 29″ or 29¼″ draw length, hoping a precise measurement will boost their accuracy.
But your draw length isn’t just a static number. It’s the product of consistent, repeatable form.
I recently worked with an experienced archer at TAC who questioned whether his 30″ draw length setting was correct. He felt his shot sequence was off and wondered if he needed to move to 30½″.
What we learned demonstrates why the “perfect draw length” is more about form fundamentals than precise measurements.
The Four Puzzle Pieces of Consistent Draw Length
When an archer struggles with inconsistency, I don’t immediately reach for the bow press to adjust draw length. Instead, I look at four puzzle pieces that determine your true draw length.
1. Bow Hand Position
Your bow hand position is your shot sequence’s foundation. If your wrist isn’t in a fixed, repeatable position, your draw length will vary from shot to shot.
A proper bow grip places pressure along your hand’s lifeline with your wrist in a low, locked position. This creates a direct bone-to-bow connection that doesn’t rely on fluctuating muscle tension to maintain.
When your wrist flexes high or collapses low, you effectively change your draw length without touching a single bow setting.

2. Release Hand Anchor
The second puzzle piece is your release hand position.
I noticed immediately that the archer was gripping his thumb-button release too deeply in his hand, causing his knuckles to round into a fist shape. This changes the effective draw length and creates inconsistent string travel upon release.
The solution is a flat hand position with the release barrel resting across the base of the fingers rather than buried deep in the hand. This creates a straight line from the elbow through the wrist to the release head, maintaining consistency from shot to shot.

3. Bow Shoulder Position
Many archers unconsciously raise their bow shoulder toward their ear, especially under pressure. This immediately shortens your draw length and creates a mechanically weak position that requires muscle tension to maintain.
The correct position keeps the shoulder down and in the socket. When properly aligned, your skeletal structure, not your muscles, supports the bow’s weight. This is important for maintaining draw length consistency, especially during longer shooting sessions when fatigue sets in.

4. Draw Elbow Position
The final puzzle piece is your draw elbow. The archer mentioned feeling like his elbow was a little high at full draw and that he wasn’t getting a full extension back.
When people extend out and lock out, they can’t have a definitive draw length. A locked, straight bow arm forces your shoulder up and forward, creating an unstable platform. Similarly, a draw elbow that’s too high or too low will dramatically alter your effective draw length.
The correct elbow position creates a straight line from the arrow through your release hand to your elbow. This alignment allows for maximum energy transfer and provides a consistent anchor reference.
Seeing Real Results: Form Before Adjustment
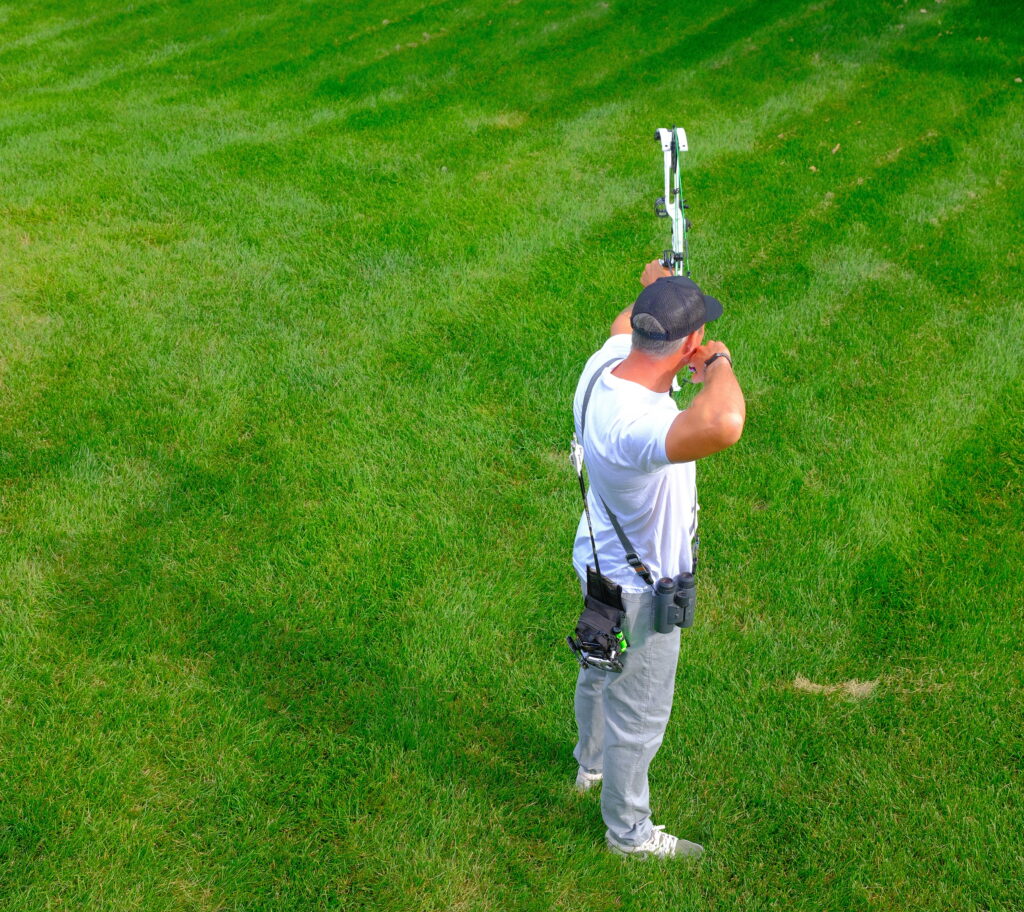
Rather than immediately recommending a draw length change, I had the archer shoot while focusing on these form elements, particularly his release hand position.
The change was immediate. With his hand position corrected, his anchor became solid, his alignment improved, and suddenly, his 30″ draw length felt perfect.
The issue wasn’t the bow setting. It was his inconsistent hand position creating the sensation of being too short at times sand leading to constant second guessing.
Beyond Draw Length: The Complete System
While examining his form, I noticed a couple additional setup issues:
D-Loop Installation: The archer was using a pre-cut D-loop that was causing string separation. When you cinch and crimp pre-cut D-loops, they often pull hard from the center but not from the outside, creating separation. This can lead to premature serving wear and eventual failure.

Arrow Rest Position: His drop-away rest was mounted too low on the riser, causing vane contact during the shot. This subtle equipment issue also affected his consistency.

Accuracy comes from a complete system working together: your form, your equipment setup, and your understanding of how the pieces interact.
The Path Forward: Consistency Through Self-Awareness
The most valuable takeaway from our session wasn’t a new draw length setting. It was giving the archer the tools to self-diagnose and correct his form issues.
If you ever feel inconsistent, check yourself. Do you actually feel pressure all the way down the grip, or do you only feel pressure high up?
This self-awareness is the foundation of consistency. By understanding how your body position affects your draw length, you can make subtle corrections on the fly rather than constantly changing equipment settings.
Form First, Measurements Second
Next time you’re tempted to adjust your draw length, answer these questions:
- Is your bow hand consistently positioned with a low, locked wrist?
- Is your release hand flat with the release head aligned with your arrow?
- Is your bow shoulder down and in the socket?
- Is your draw elbow properly positioned, creating alignment from arrow to elbow?
Don’t change your draw length setting until after you’ve confirmed these elements are consistent. In most cases, like with our archer at TAC, the solution is more consistent form.
Remember, your true draw length isn’t a static number. It’s the product of properly aligned and consistently repeatable form that allows your body and bow to work as one unified system.