
When I run coaching sessions or seminars, one question comes up more often than almost any other: “John, what arrow length should I cut based on my draw length?”
It’s a reasonable question, but it’s the wrong approach. Let me explain the right way to determine your arrow length.
The Draw Length Marketing Game
Most bow manufacturers are supposed to measure draw length based on industry standards. These standards include a built-in margin of error that many companies exploit to their advantage. Some manufacturers push their measurements to the absolute limit of what’s allowed.
For instance, a bow advertised as having a 29-inch draw length might actually be pushing 30 inches. Why would they do this? Simple: Those extra fractions of an inch translate to faster arrow speeds, which makes for better marketing numbers when competing against other brands.
Another factor to consider is that when you reduce the poundage from your bow’s peak weight, you’re backing out turns on the limb bolts. This adjustment also increases both the draw length and the brace height. So if you have a 29″/70# bow but have backed the limbs down to 60 pounds, you can be adding quite a bit of draw length depending on your bow model.
This inconsistency creates a real problem when archers try to determine arrow length based solely on their bow’s advertised draw length. You could end up with arrows that are dangerously short if you rely on these numbers alone.
The Safety-First Approach to Arrow Length
Instead of basing your arrow length on potentially misleading draw length specs, take a safety-focused approach.
When you’re at full draw, the end of your arrow shaft (where the broadhead connects) should be at least at the front edge of your bow’s riser. This positioning keeps the broadhead completely in front of your bow hand.
If your arrow is cut too short and your broadhead sits closer to the arrow rest or behind the riser’s front edge, you’re setting up a dangerous situation. Should your nock accidentally come off the string or slip while drawing back (which happens to even the most experienced archers), an arrow that’s too short will fall forward and can get bound up in the riser or rest, or worse, your hand!
When this happens, the arrow is no longer properly supported, creating an accident waiting to happen. At best, you’ll have an erratic shot; at worst, serious injury could result.
By contrast, when your arrow extends past the riser’s front edge, if it does slip off the string, it’ll fall forward and clear of the bow entirely.
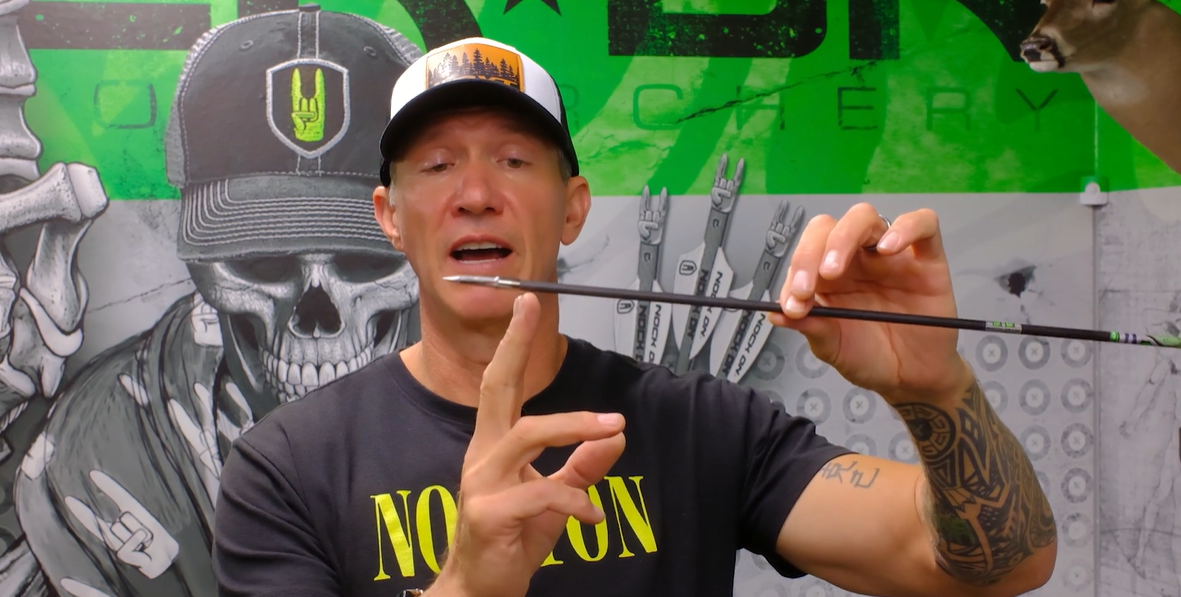
How to Determine Your Perfect Arrow Length
Measuring for the right arrow length couldn’t be simpler:
- Draw your bow with a full-length arrow.
- Have someone mark the arrow at your riser’s front edge.
- That’s your safe cut length.
We typically measure cut length from the stock nock’s end to that marked cut point when we build arrows at the store. This gives you a precise, personalized measurement based on your actual setup rather than questionable specs.
If you’re shooting quality shafts like the Easton Axis 5mm or 5MM FMJ, be especially precise with your measurements. The micro-diameter design gives you better penetration and less wind drift, but that smaller diameter means there’s less room for error when cutting because they use a permanent internal insert component that you can’t remove to change arrow length.
Additional Factors Worth Knowing
The safety margin becomes even more important when using mechanical broadheads, especially rear-deploying models.
These broadheads often have blades that extend slightly past the ferrule-to-shaft connection point. If your arrows are cut too short, these blades could make contact with the arrow rest or your fingers during the draw cycle.
This is particularly problematic if you’re using a pull-through release aid. As you continue your draw motion, those slightly overhanging blades could catch on the arrow rest prongs, potentially yanking the arrow off the string during the draw. Measure your broadhead’s blade overhang from the cut point of the arrow to make sure you’re safe.
You need to factor in any additional components like Match Grade HIT collars or outserts that add length to your setup. These components add durability but take up space that needs to be accounted for in your arrow cut length because collars also slide back over the shaft.
By using the “front of the riser” method, you automatically build in space for these additions.
Target Archery vs. Hunting: Different Priorities
I approach my target arrows differently from my hunting arrows.
For competitions, where I shoot field points instead of razor-sharp broadheads, I sometimes cut my arrows a bit shorter to maximize speed and minimize wind drift. Also, most target archers use a rest that has more of an “overdraw,” or the prongs sit further behind the riser. In these cases, having a cut point closer to the rest, while still safe, is common. Every bit of performance helps when you’re trying to win, and less arrow means less drift and more speed.
For hunting setups, prioritize safety. The marginal performance gain from a slightly shorter arrow isn’t worth the risk of having a razor-sharp broadhead positioned too close to your bow hand.
Keep It Simple, Keep It Safe
When it comes to determining your arrow length, don’t overthink it, and don’t base it solely on your bow’s advertised draw length.
Instead, follow this safety-first approach:
- Draw your bow.
- Mark the arrow at your riser’s front edge.
- Cut to that length.
- Account for the broadhead blade overhang and any arrow components like collars or outserts.
This method keeps your broadhead safely in front of your knuckles while still giving you solid performance.
You can’t make a good shot if you’re injured, and you can’t enjoy archery if your equipment is constantly fighting an arrow that’s too short. Take the time to set up your arrows correctly, and you’ll have a safer, more consistent, and more enjoyable experience in the field or on the range.
