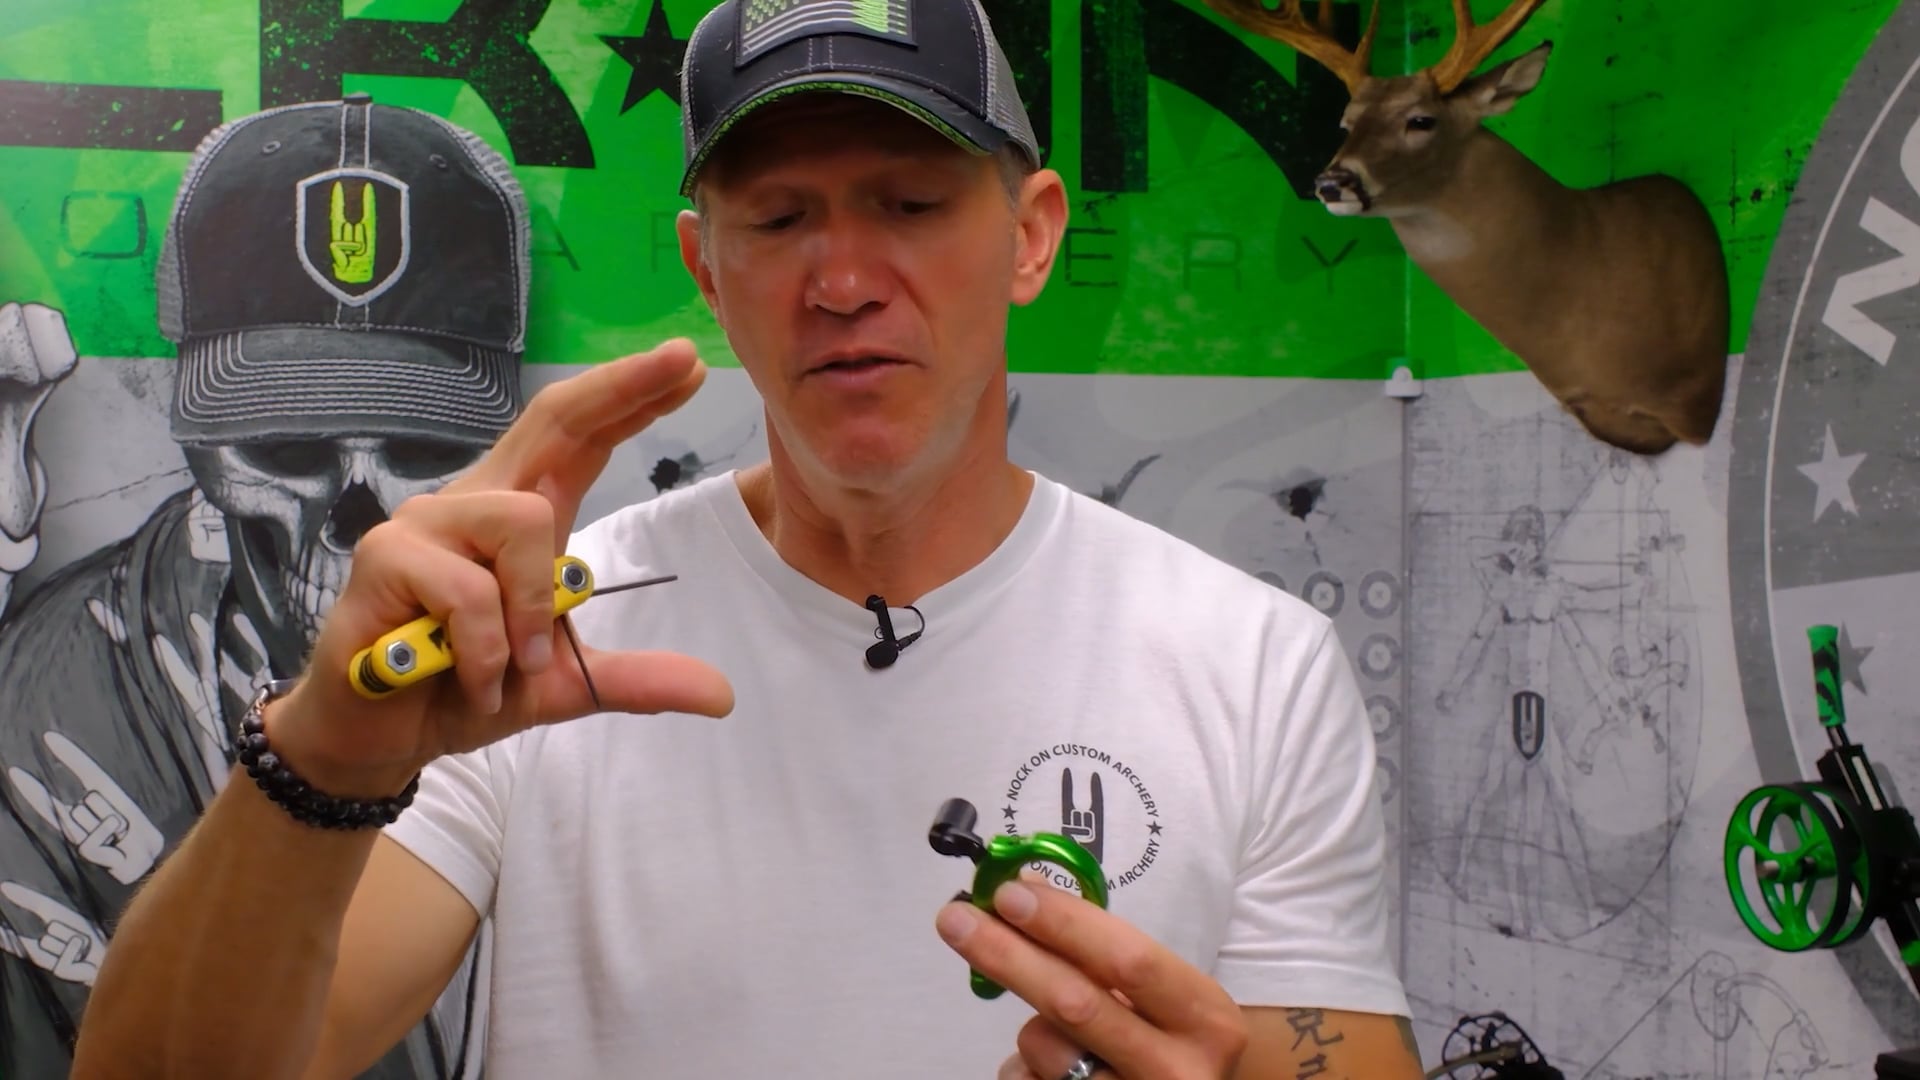
There’s a moment every archer knows well. You’re at full draw, anchored solid, focused on the target… and your release breaks so crisp and clean it feels like pure magic. That’s exactly how your Nock 2 It release is supposed to feel right out of the box.
But if you’ve been tinkering with those adjustment screws (and I know some of you have), you might have inadvertently turned that magic into a liability.
One of the biggest mistakes I see archers make is grabbing their brand new Nock 2 It and immediately starting to adjust it. Every Nock On release comes pre-set from the factory. We’ve already dialed these in for you. Making adjustments without understanding what you’re doing could be taking you in exactly the opposite direction of what you want.
Today, I’m going to walk you through getting your release back to those perfect factory settings, focusing on two critical adjustments that ensure your Nock 2 It fires safely, consistently, and crisply every time.
Understanding Your Nock 2 It’s Anatomy
Before we dive into adjustments, let’s talk about what makes the Nock 2 It special. Over the years, we’ve gone through several iterations of internal components: from micro-adjustments to no micro-adjustments, nickel-plated parts to black oxidized ones. We’re constantly refining and improving as technology advances.
Regardless of which generation you’re using, the principles remain the same. Your Nock 2 It features three internal sears, with two of them designed to create a release that fires with pressure, not travel. This is what gives it that distinctive, crisp break that serious archers love.
The Top Tension Screw: The Critical First Adjustment
The most common mistake I see is archers backing out the top tension screw trying to get a hair-trigger light release. This is dangerous, plain and simple.
That top tension screw controls an internal spring that requires proper compression to function safely. Think of it like pre-loading shocks on a motorcycle:
- Too tight, and you bottom out the spring, preventing proper function
- Too loose, and the spring isn’t compressed enough to work correctly
Here’s how to check if yours is set correctly:
- Look at your release and locate the small set screw on the side
- Now look at the top tension screw
- If the top of that screw is flush with (or sticking out above) the top of the casing where the set screw hole is, you’ve backed it out too far
When properly set, you should feel and hear a distinct, positive “click” when cocking your release. If the engagement feels spongy or weak, or if you have to push up on the trigger sear to get it to cock, you’re risking premature firing.
Let me be clear: A release that’s too light isn’t a performance advantage — it’s a safety hazard. You need positive engagement to ensure your release won’t fire unexpectedly during the draw or while letting down.
Some folks ask about that click in hunting situations. In my 20+ years of experience, I’ve never spooked an animal because of the click. Remember, your bow going off is significantly louder than the release firing. We deliberately use a heavy cocking spring in the Nock 2 It to drive the jaw open faster, allowing your D-loop to clear quickly and cleanly.
The Travel Screw: Dialing in the Perfect Break
Once your tension is properly set, it’s time to adjust the travel screw. Not all Nock 2 It releases have this adjustment—the ones without it were set at an optimal position at the factory. But for those that do have a travel adjustment, here’s how to set it perfectly:
- Make sure your release is cocked
- Insert an Allen wrench into the travel screw on the back of the release
- Tighten the screw (turn clockwise) until the release fires
- Think of your Allen wrench like a clock face. Note where it was when the release fired (commonly around 8 o’clock)
- Back it off two “numbers” on the clock (to approximately 6 o’clock)
This process removes unwanted travel, giving you a release that breaks cleanly with pressure rather than movement. It’s the difference between a release that feels mushy and unpredictable and one that fires with authority exactly when you want it to.
Fine-Tuning the Feel with the Thumb Barrel Position
Some of the newer Nock 2 It models feature an adjustable thumb barrel with a lever arm that allows for multiple mounting positions. The further out you position this barrel, the lighter it will feel due to increased leverage. This gives you the ability to fine-tune the perceived weight of the release without compromising safety.
Bringing It All Together
The perfect Nock 2 It setup comes down to two critical factors:
- Proper tension on the top screw, ensuring positive cocking engagement
- Minimal travel, so the release breaks cleanly with pressure
When both of these elements are dialed in, you’ll have a release that performs exactly as we intended. Safe, reliable, and delivering that perfect shot break every archer craves.
If you’ve been adjusting your Nock 2 It trying to get it “just right,” I encourage you to follow these steps to get back to our factory specifications. They’re the result of countless hours of testing and refinement, designed to give you the best possible shooting experience while maintaining the safety you need for consistent performance.
Remember, the goal isn’t to have the lightest possible trigger. It’s to have a release that fires predictably and safely when you want it to, every single time. That’s the kind of confidence that translates to tighter groups, cleaner kills, and more enjoyable time on the range and in the field.


 massmonopoly