
Learning how to clean a turkey properly can transform your hunting experience. Most turkey hunters immediately breast out their birds, missing the opportunity to enjoy a whole-roasted wild turkey that rivals any store-bought bird.
After 20 years of processing wild game, I’ve refined a simple method that shows you exactly how to clean a turkey efficiently, turning a fully-feathered gobbler into an oven-ready bird in minutes. This technique preserves the complete turkey while allowing you to save the key trophy elements—and it requires nothing more than basic equipment you likely already have.
Many hunters avoid cleaning turkeys because they believe it’s time-consuming or difficult. The truth? With the right turkey cleaning approach, you’ll spend less time processing a whole bird than you would skinning and deboning it—and you’ll end up with a superior end product that retains its natural moisture during cooking.
Essential Tools for Cleaning a Turkey
Before learning how to clean a turkey, gather these basic supplies:
- Large pot or bucket for hot water
- Propane burner or heat source
- Dawn dish soap (or similar)
- Sharp knife (preferably a fillet knife)
- Game shears or sharp scissors
- Clean work surface
- Gloves (optional but recommended)
- Garbage bag for feathers
- Paper towels
Having all your equipment ready before you begin the turkey cleaning process ensures efficiency and food safety.
How to Clean a Turkey: Step-by-Step Process
Step 1: Preserve Trophy Parts First
Before dunking your bird in hot water, you’ll want to remove and preserve the key trophy elements. This ensures these parts remain intact and clean for mounting or display:
- The Beard: Grasp the beard firmly and pull it outward to expose the base where it connects to the skin. Using a sharp knife, cut behind the base through the skin to remove it cleanly. A quality beard is worth preserving and makes an excellent addition to your turkey hunting memories.
- The Wing Sections: Locate the joint where the wing bends (similar to an elbow). Cut upward from the V on the inside, then downward on the outside V to expose the joint. Once exposed, firmly grasp both sections and break the joint backward against its natural direction. You’ll hear a distinctive snap. Complete the separation by cutting through any remaining tendons or skin. Removing the wings simplifies the turkey cleaning process and preserves wing feathers if desired.
- The Tail Fan: Grab the tail fan and bend it slightly forward to reveal where it connects to the body just above the vent. Cut horizontally at this pivot point, keeping your knife above the vent opening. Follow the skin line slightly up the back to fully detach the fan. This technique cleanly removes the entire fan structure intact—perfect for mounting later.
- The Head: Decide how much neck you want to leave on your bird. For better presentation and easier cooking, I prefer removing most of the neck. Using a hatchet or sturdy knife, sever the neck several inches down from the head, cutting between vertebrae when possible for a clean separation.
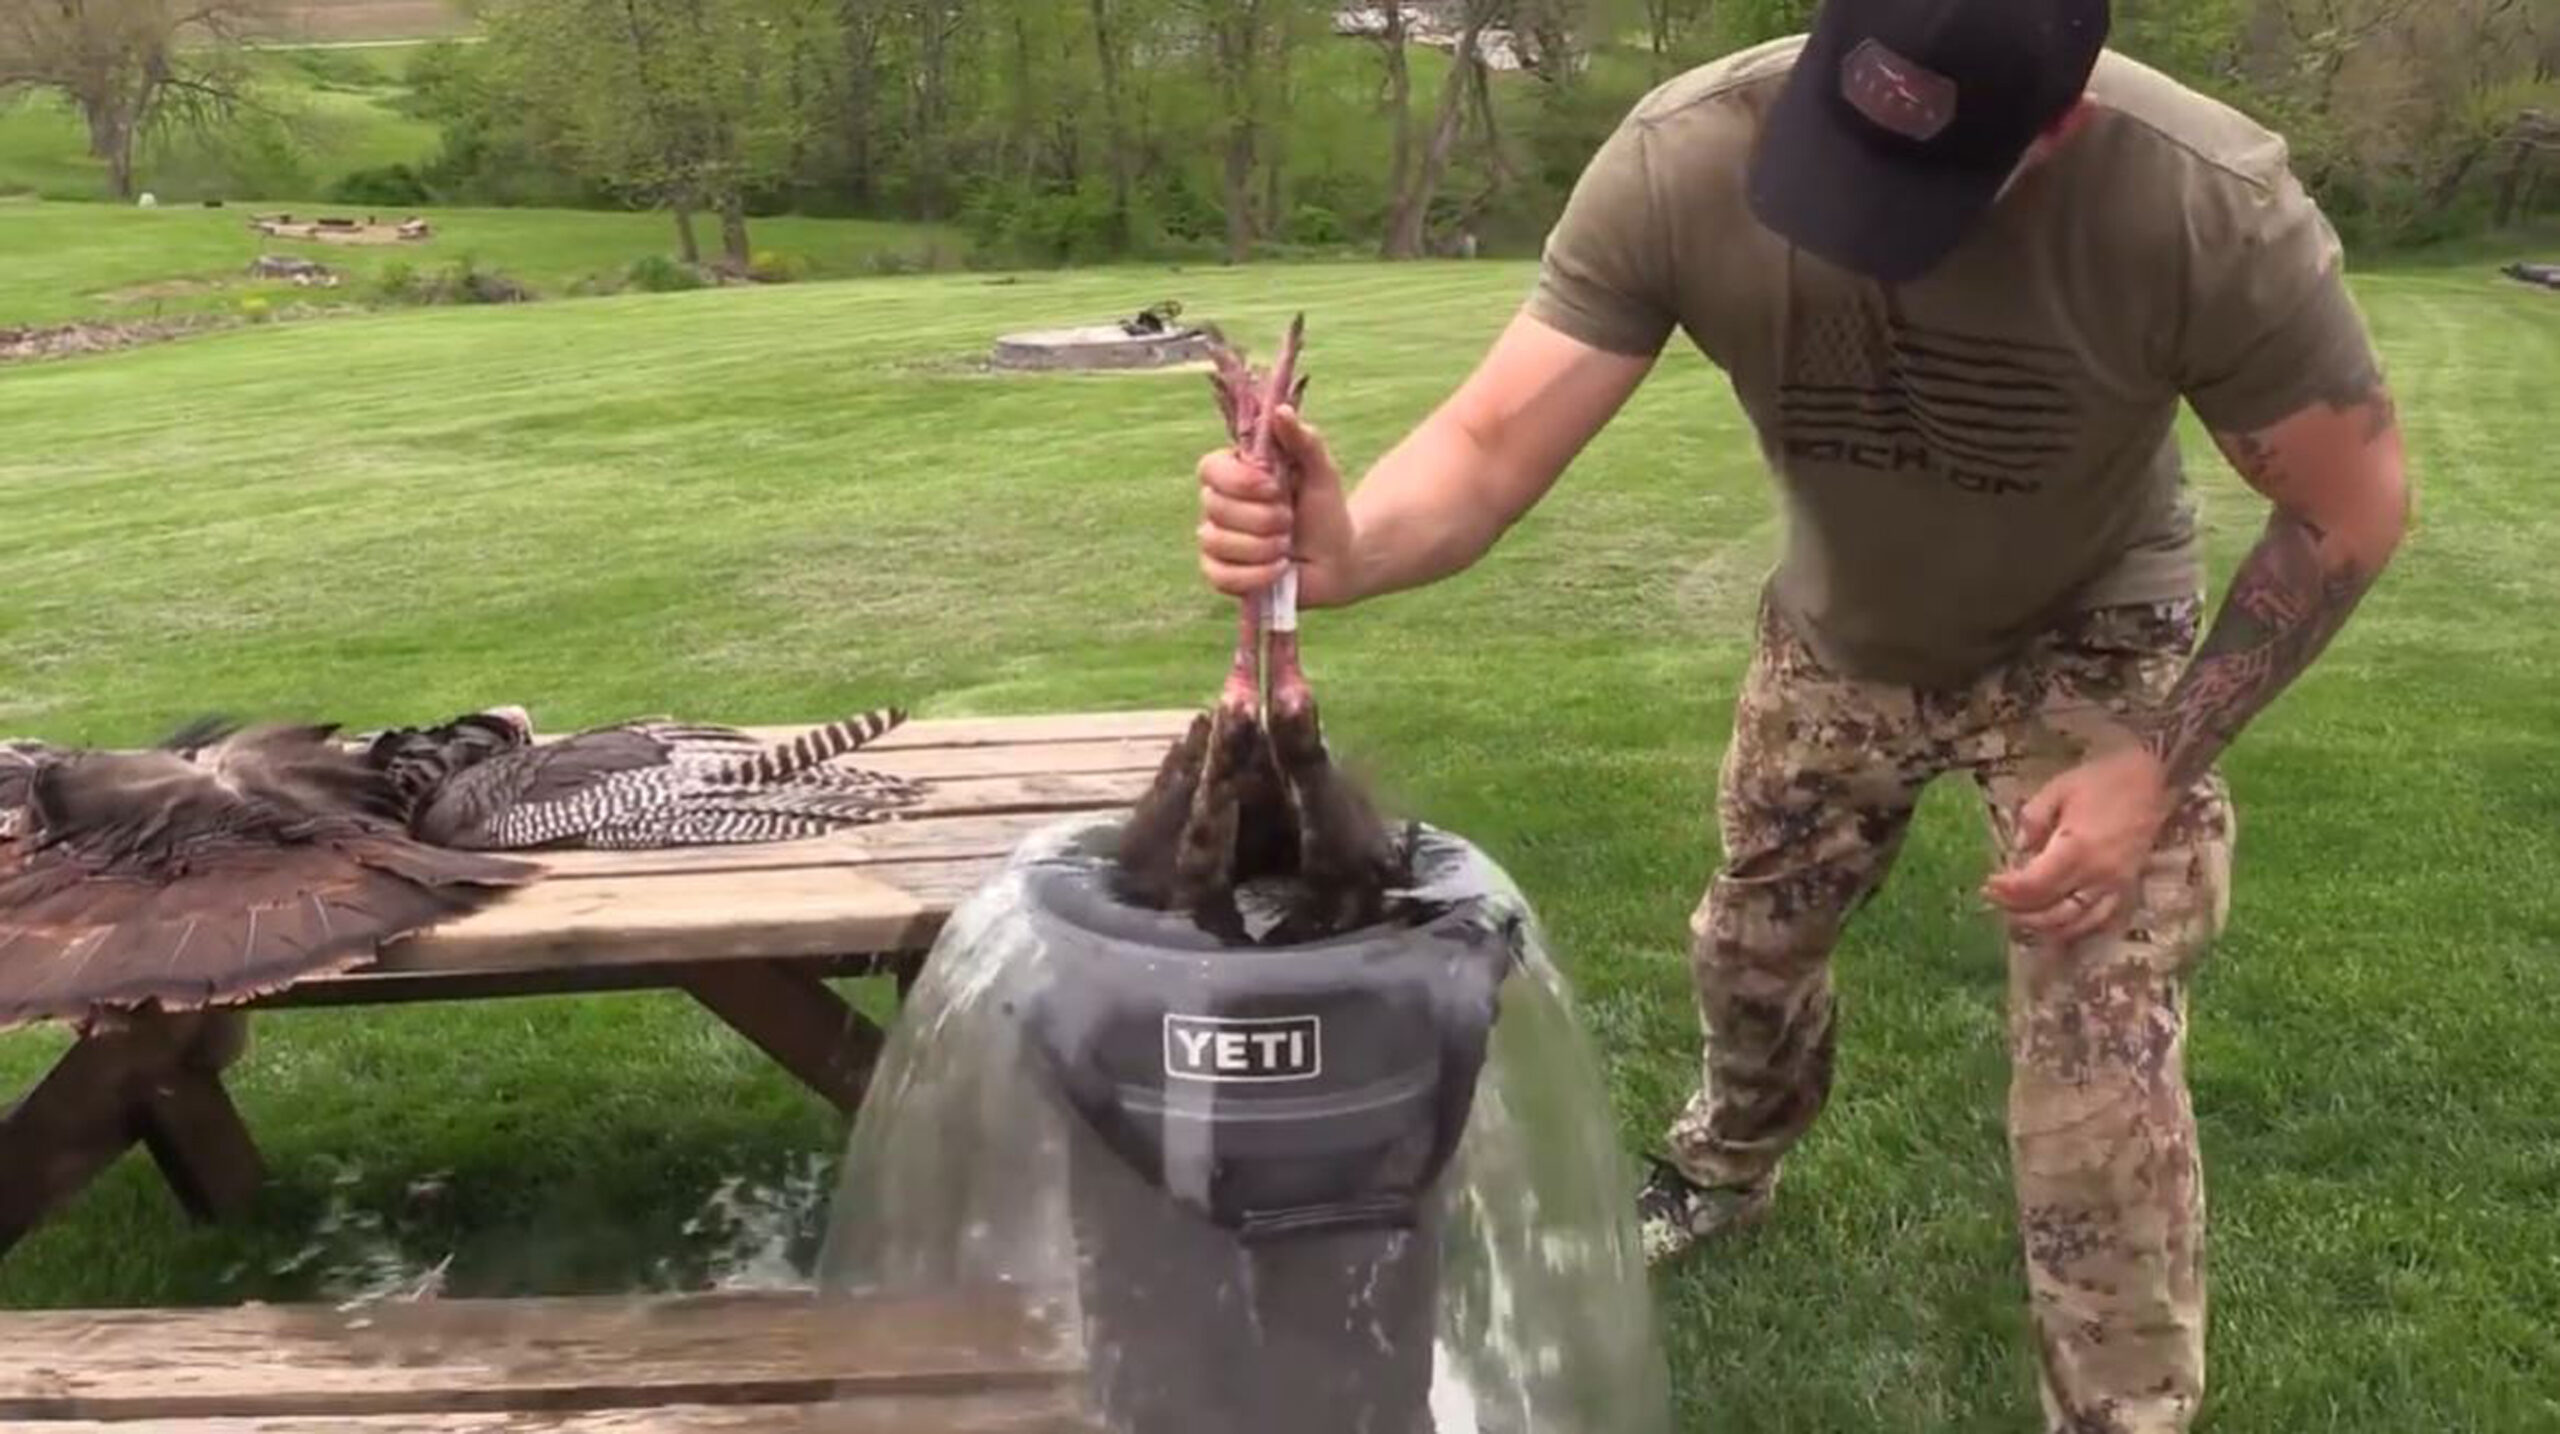
Step 2: The Hot Water Dunk – Key to Easy Turkey Cleaning

The secret to efficiently cleaning a turkey lies in proper scalding. Here’s how to do it right:
- Prepare a bucket of boiling water with a few drops of Dawn dish soap added. The soap helps the hot water penetrate beneath the feathers, loosening them at the follicle.
- Leave the feet attached temporarily—they provide the perfect “handles” for dunking.
- Fully submerge the bird for 15-20 seconds, ensuring complete coverage, especially in the harder-to-pluck areas.
- Lift the bird out, then immediately dunk again for optimal results. Be extremely careful not to burn yourself—the water should be scalding hot.
Step 3: The Plucking Process
After proper scalding, the feathers should pull out with surprising ease. Start at the breast and work methodically across the bird, removing feathers in handfuls. The soap-infused hot water loosens the feather follicles so effectively that entire sections of feathers will come out in single pulls.
Work quickly while the bird is still warm from dunking. If you encounter areas where feathers resist removal, a second quick dunk often solves the problem. Focus on removing feathers in the direction they naturally lay for the cleanest results.
This approach to cleaning a turkey is far more efficient than dry plucking and preserves the skin integrity for better cooking results.
Step 4: Final Turkey Cleaning Steps
Once fully plucked, your turkey will resemble a store-bought bird with clean, white skin. Complete the process with these final steps:
- Remove the Legs: Cut through the hock joints (the “knees” of the lower legs) with your knife or hatchet. The feet served their purpose during dunking and are no longer needed.
- Field Dressing: With the bird lying breast-up, locate the bottom tip of the keel bone (breastbone). Make a horizontal incision across the lower abdomen just below this point, creating an opening between the legs. Through this incision, carefully remove all internal organs.
- Fat Removal (Optional): Some hunters prefer to remove the internal fat deposits located along the inside of the breast. Use a fillet knife for a clean removal of this yellowish tissue, which can affect flavor in some cooking applications.
- Final Rinse: Thoroughly rinse the cavity and exterior of the bird with cold, clean water to remove any remaining feather debris or blood.
Common Turkey Cleaning Mistakes to Avoid
When learning how to clean a turkey, be careful to avoid these common errors:
- Water too cool: If your water isn’t hot enough, the feathers won’t release properly
- Insufficient dunking time: A quick dip won’t penetrate the feather follicles
- Waiting too long after hunting: Clean your turkey as soon as possible for best results
- Rushing the plucking process: Work methodically to avoid tearing the skin
- Cutting too deeply during field dressing: This can puncture intestines and contaminate meat
Food Safety When Cleaning a Turkey
Proper food safety is essential when learning how to clean a turkey:
- Work on a clean, disinfected surface
- Wash hands frequently throughout the process
- Keep the meat cool after cleaning is complete
- Clean all equipment thoroughly after use
- Refrigerate the cleaned turkey promptly if not cooking immediately
The Benefits of Properly Cleaning a Turkey
Learning how to clean a turkey properly offers the ultimate field-to-table experience, allowing you to present a whole-roasted bird that honors the harvest. This method preserves the maximum amount of meat while maintaining the skin—nature’s perfect moisture barrier during cooking.
The entire turkey cleaning process takes less than 15 minutes with practice, making it practical even for hunters with limited processing time. From removing trophy parts to the final cleaning, each step is designed for efficiency and quality results.
Next time you tag a spring gobbler, consider skipping the breast-out method and try this whole-bird approach to cleaning a turkey instead. The difference in presentation and flavor will convince you that the minimal extra effort delivers maximum returns at the dinner table.
Remember: A properly cleaned wild turkey isn’t just good game meat—it’s exceptional table fare that rivals any domesticated alternative.
 massmonopoly