
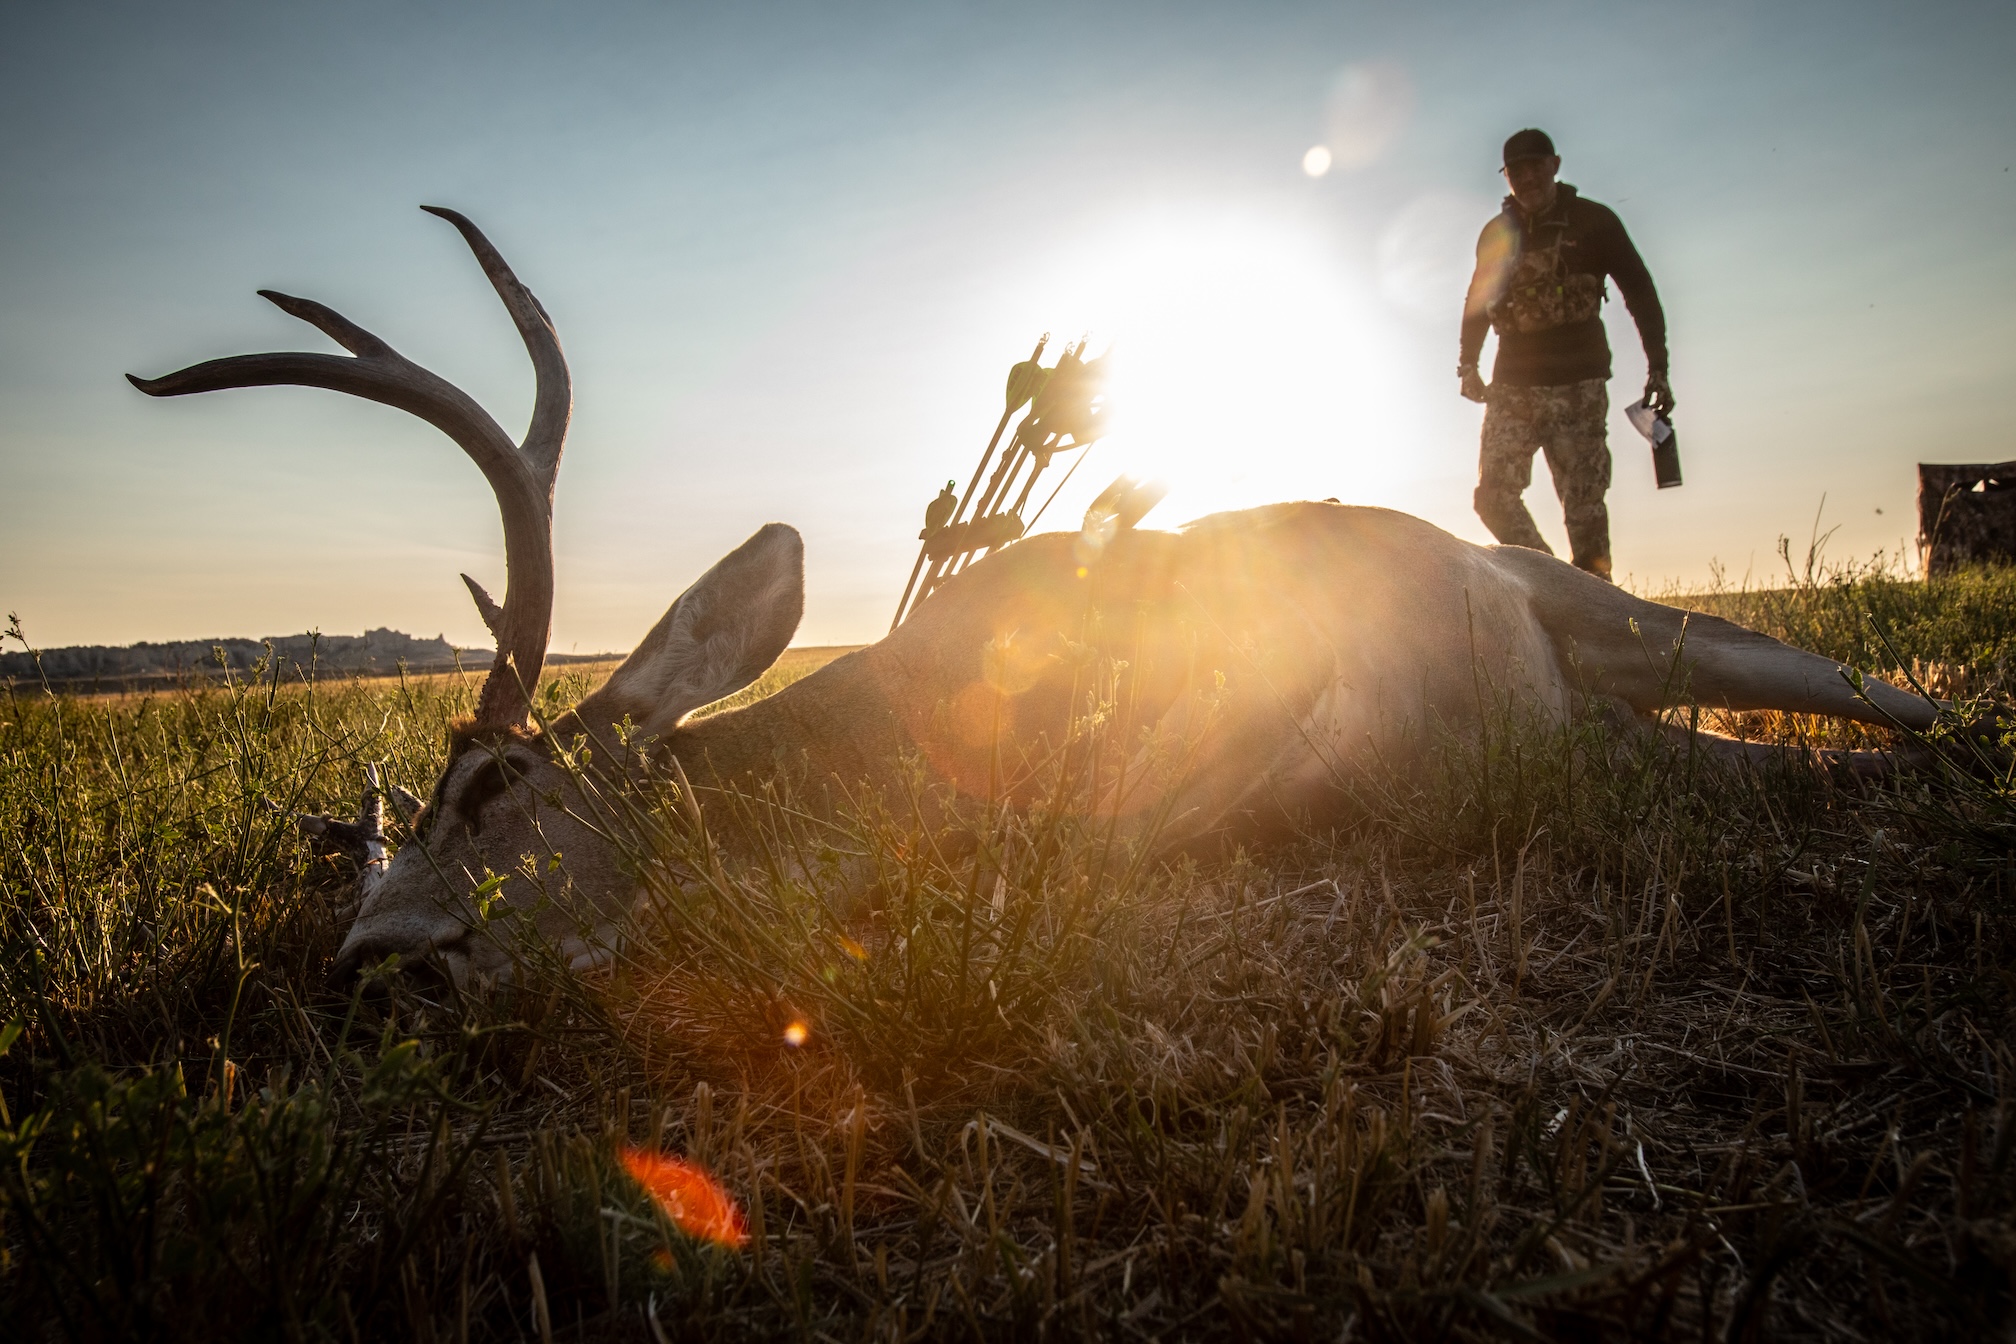
After putting in time during whitetail season, there’s nothing more satisfying than a successful harvest. But what comes next can make or break your meat quality.
I’ve field dressed hundreds of deer over the decades, and I’ve refined my technique to be quick, clean, and effective, especially when I’m hunting solo. It’s designed to cool the animal quickly, make it lighter for transport, and set you up for proper processing later. I’m excited to share it with you today.
Here’s how to field dress a deer by yourself.
Setting Up for Solo Success When Field Dressing a Deer
When you’re by yourself, field dressing is challenging. That deer won’t hold still for you, and working on uneven terrain can turn a simple task into a frustrating ordeal. Here’s how to get set up right.
Before rigor mortis sets in, I position the deer on its back and tuck the front legs up under the rack. This trick keeps those legs out of your way with no need for a rope or a second set of hands.
Next, I’ll straddle the deer and use my knee against the animal’s side to keep it vertical. This position prevents the deer from rolling away from you, and it keeps the organs from sliding against your blade as you cut.
This vertical positioning is tactical. When the deer stays upright, you create space between the hide and the internal organs. That separation is your insurance policy against puncturing the stomach or intestines, which can taint your meat with digestive fluids and bacteria.
How to Field Dress a Deer: The First Cut
A clean field dressing job starts with a precise first incision. I don’t cape my deer in the field, so I begin by feeling for where the brisket (sternum) ends. This is your landmark.
Start your cut right at the bottom of the sternum, making a small, controlled incision through the hide only. Remember that a harvested deer bloats as time passes, especially if it’s been feeding heavily, pushing those organs right up against the abdominal wall.
Once you’ve made that initial puncture, slip your fingers under that first cut, creating a small pocket between the hide and the membrane covering the organs. Now, place your knife blade between your fingers, edge UP (away from the organs), and extend the cut down toward the genitalia.
I use my free hand to apply downward pressure on the organs while lifting upward on the hide. This creates a separation that protects the stomach and intestines from accidental punctures. That gap is your safety zone. Respect it.

Accessing the Chest Cavity
Once the abdominal cavity is open, it’s time to address the chest cavity, where the heart and lungs sit. To succeed, you need to understand what you’re feeling for.
Move to the deer’s side and locate the diaphragm: it feels like a taut, balloon-like wall separating the chest cavity from the abdominal cavity. Make a small hole through this diaphragm where it connects to the chest wall.
This is precision work. You’re creating just enough of an opening to access the chest cavity without making unnecessary cuts. The goal is control, not speed. Remember, the diaphragm is a balloon-like wall that separates the chest cavity from the abdominal cavity and is connected to the ribcage. We need to cut that connection.
Once you’ve punctured the diaphragm, run your knife along the inside edge of the ribcage, cutting the diaphragm free from its attachment points. You only need to cut it slightly more than halfway down each side; you’re just creating enough detachment to eventually pull everything out in one piece.
The One-Pull Removal Technique for Field Dressing a Deer
Here’s where my method deviates from what many hunters were taught. Instead of reaching in and cutting out organs individually, I remove everything in one clean motion. But there’s one more critical cut you need to make prior to the pull.
Reach deep into the chest cavity, following the top edge and making small cuts to free any tissue holding the organs in place. Push your hand as far forward into the neck as possible until you feel the esophagus and trachea up the neck. Make a firm cut to sever these tubes completely. The windpipe is thick, so be sure to have your other hand free of the knife to make that slice.
With your finger inserted into the severed esophagus for grip, grab the heart and lung package and pull everything backward. If you’ve properly cut the diaphragm along the sides, the entire organ package (heart, lungs, stomach, intestines, and all) will slide out in one piece through the abdominal opening.
This one-pull technique is clean, fast, and eliminates the mess of cutting organs while they’re still in the cavity. It also keeps you from leaving anything behind that could spoil.

Finishing Touches When Field Dressing a Deer
I leave the “proof of sex” (genitalia) attached to the carcass since most hunting regulations require it for transport. I also don’t fully split the pelvis in the field unless the temperatures require it; I complete that final step back at camp, where I have better control over the process and can keep the rear quarter clear of debris.
After removing the organ package, tip the deer onto its side to drain any excess blood from the body cavity. This reduces weight for transport and continues the cooling process.
TIP: Find deer to hunt (& field dress) with Huntwise
Other Assets to Make It Easy
I keep a field dressing kit ready, whether it’s in my truck or in my pack. It’s a baggie with my field dressing essentials: my knife, field dressing gloves, zip ties, Sharpie, hand sanitizer, field wipes, and an extra baggie for the inside tenderloins I have access to once I field dress.
I like to use HuntWise’s pins and markers feature right after a successful shot to mark the exact location where I harvested the deer. This helps me navigate back to the spot, especially if I need to retrieve my gear or want to remember productive stand locations for future seasons.
If you’re hunting in remote areas without cell service, HuntWise’s offline maps feature can help you navigate back to your vehicle with your harvest. I always download my hunting area before heading out so I can track my route even when I’m miles from civilization.

How to Field Dress a Deer for the First Time: Why This Method Works
When you’re hunting alone, possibly miles from your vehicle in fading daylight, efficiency matters. This method gets you from successful shot to transport-ready in minutes, preserving your hard-earned venison in the process:
- The vertical positioning keeps blood and fluids from pooling in awkward places.
- The two-finger guide technique prevents puncturing organs.
- The single-package removal minimizes contamination risks.
- Leaving the pelvic split for later makes the field process cleaner and faster.
Perfect this technique, and you’ll know how to field dress a deer with confidence, whether you’re on remote public land or just trying to get back to camp before dark. It’s one more skill that separates consistently successful hunters from the rest.

