
The moment you put a bull on the ground, the clock starts ticking. That’s when the real work begins: turning your hard-earned harvest into high-quality meat for your freezer.
I found myself in this exact scenario on a recent hunt with my partners Jeremy and Dusty. With a gorgeous hide worth saving and meat that needed to be packed out, we implemented our team-based field-dressing approach.
Let me explain how we handled it, sharing tactics you can apply on your next successful elk hunt.
Setting Up for Success: The First Steps
The conditions were challenging: rainy morning, soaked underbrush, and limited daylight. When dealing with a 700+ pound animal in these circumstances, organization is just as important as knife skills.
First, we positioned the bull properly. The animal had gone down hard (we could see where he’d wiped out and hit a tree), so we tipped him onto his back, securing one front hoof under a log to keep him stable. This position provides the best access for the initial cuts and prevents the carcass from rolling while you work.
Most hunters rush straight into cutting without securing the animal. Taking thirty seconds to position the animal correctly saves you frustration and keeps your meat clean.
Before making the first cut, I laid out a flash shelter: a lightweight, packable tarp that creates a clean surface for the quarters as they come off. This simple step prevents dirt, pine needles and debris from contaminating your meat.
I also cleared walking paths between the carcass and our meat collection area, which reduces the risk of tripping while carrying heavy quarters.
Pro Tip: Always clear your work area before starting. Creating dedicated zones for meat, gear, and waste keeps you organized throughout the process.
The Caping Process
The animal’s beautiful hide was worth keeping, so we opted for a full cape rather than just removing the quarters. Here’s our systematic approach:
- Initial Incisions: Jeremy started at the sternum, cutting down toward the belly, while Dusty worked from the genitals up toward the belly. This two-person approach sped up the process.
- Critical Reminder: Verify your local game laws regarding proof of sex. In many jurisdictions, evidence of gender must remain attached to a portion of the animal, typically a hindquarter. We preserved the necessary anatomy by making a circular cut around the scrotum to keep it attached.
- Hide Rolling Technique: As we peeled back the hide, we continuously rolled it to keep the hair side down and the flesh side up. This simple technique keeps both the meat and the hide cleaner throughout the process. It’s like having a clean tablecloth that moves with you around the animal.
The rolling technique paid dividends as we worked. It created a clean surface that protected the exposed meat from dirt and debris while preserving the quality of the hide for tanning.
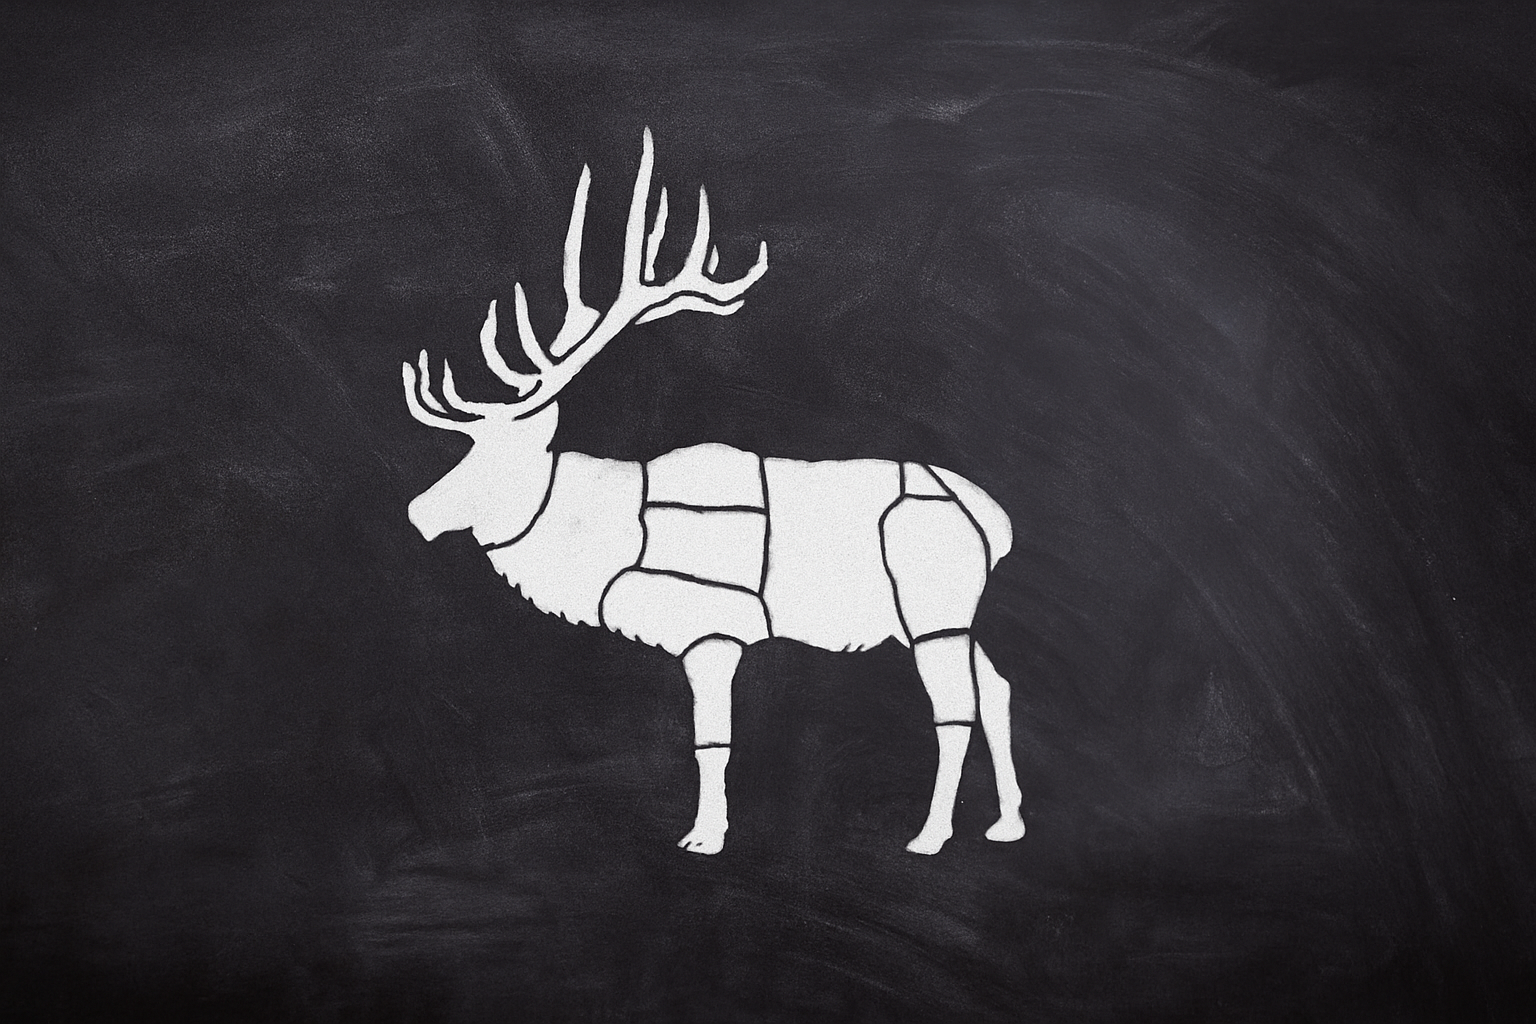
Quartermaster: Breaking Down the Bull
With the hide partially peeled back on one side, we began removing the quarters. This requires an understanding of the animal’s anatomy and the right blade for the job.
PRO TIP: Always give yourself a good handhold on each quarter so one person can pull or lift while being cut. I simple slice along a forearm or some para-cord works amazing.
Hindquarter Removal
The hindquarter connection is the most challenging because of the ball-and-socket joint at the hip. Here’s the technique that makes it manageable:
- Pull the leg away from the body to create tension in the joint
- Identify the edge of the pelvis bone and follow it with your knife blade
- Cut along the pelvis until you reach the socket
- Carefully work around the ball joint, severing the connecting tissue
- Pull the quarter free while cutting any remaining connective tissue
At 70 pounds each, these hindquarters contain the best meat on the animal. Taking your time on the separation pays off with clean, debris-free cuts.
Front Quarter Removal
The front quarters are easier to remove since they’re only attached by muscle and connective tissue:
- Pull the leg away from the body to create tension under the armpit
- Make a cut right behind the shoulder blade
- Follow the natural seam between the ribs and armpit
- Continue cutting while pulling the shoulder away from the carcass
The entire front quarter should separate cleanly.
When removing the front quarters, I always locate the entrance and exit wounds. On this bull, my broadhead had perfectly centered a rib on entry, sliced between ribs on exit, and lodged in the opposite shoulder.
This is exactly the pass-through penetration you want for a quick, ethical harvest.
Harvesting Premium Cuts: Backstraps and Tenderloins
After removing the quarters, we focused on the premium cuts.
The backstraps are substantial on a bull elk: two long, cylindrical muscles running along each side of the spine from the neck to the hips.
To remove them cleanly:
- Locate the spine and make a deep cut alongside it, from neck to hip
- Make a parallel cut along the outside edge where the backstrap meets the ribs
- Starting at either end, use your knife to separate the backstrap from the vertebrae by following the contour of the bone
- Lift the backstrap out in one continuous piece
For the tenderloins (located inside the body cavity along the spine’s underside):
- Reach into the body cavity and locate the tenderloin muscle running along the spine
- Use your knife to separate it from the spine, working from front to back
- Be careful not to puncture any organs still in the cavity
These tenderloins are your prize. Most hunters miss these or damage them during field dressing.
Packing It Out: The Final Challenge
With all meat removed and placed into game bags, we faced the physical challenge of packing everything out of the backcountry. Our methodical team approach continued:
- We used sturdy pack frames designed for heavy loads
- The quarters were wrapped in breathable game bags to allow cooling while keeping insects out
- We rolled the hide carefully and packed it separately to preserve it for tanning
- All gear was consolidated, and the area was checked thoroughly to confirm nothing was left behind
Multiple trips are always better than overloading and risking injury. There’s no shame in making extra trips to get quality meat out properly.
The heavy loads are the rear quarters, hides & head. The lighter loads are trim meat bags and front quarters. I personally alternate between a heavy load run followed by a lighter load along with some gear.
* I was always taught the etiquette of packing the meat before the head and hide.
Respect Through Process
Field dressing a bull elk properly doesn’t just extract meat. It demonstrates respect for the animal. Our systematic approach allowed us to:
- Preserve a beautiful hide for tanning
- Harvest all usable meat cleanly
- Maintain proper temperature control through quick processing
- Pack everything out efficiently despite challenging conditions
The process took about three hours, from the moment the bull hit the ground until all the meat and the hide were packed out. You can only get that efficiency through experience and teamwork.
The work you put in after the harvest affects the quality of the meat you’ll enjoy for months to come. When you find yourself standing over your next bull, take a breath, organize your approach, and work systematically.
Your future self will thank you when you’re pulling perfectly processed steaks from the freezer.
