
If you’ve mastered the fundamental elements we covered in Archery 101: How to Shoot a Compound Bow, you’re probably itching to start putting arrows downrange.
But knowing the individual pieces of proper form is just the beginning. The real magic happens when you weave those elements into a fluid, repeatable shot sequence.
When a mature buck steps into your shooting lane during the lockdown phase, your ability to center the pin doesn’t determine your success. The thousands of properly executed shots you’ve made before that moment do.
In this guide, we’re taking everything you learned about the fundamentals — your stance, grip position, and basic form — and showing you how to transform those individual elements into a complete shot sequence that flows as naturally as drawing a breath.
We’ll explain how to build a training approach that develops both physical and mental strength. We’ll also explore release aid mastery and the nuances of perfect anchor position.
Building Your Shot Sequence
Success in archery comes from putting all the pieces together at the right time in the right order. You might know every element of shot execution, but until you can string them together seamlessly, you’re just taking educated guesses.
Let’s build a shot sequence that assembles those individual skills into one fluid motion.
The Power of Sequence
Think about when you’re slipping into your favorite hunting spot before dawn. Every movement is planned, deliberate, and happens in a specific order.
Your shot sequence needs that same level of intentional design. Don’t just know what to do — know when to do it.
Many archers try to consider everything at once. It’s system overload, like trying to process wind direction, thermals, and playing the wind all in one thought. Instead, break this down into a step-by-step process that flows naturally from one element to the next.
Your Shot Sequence Framework
Let’s build this sequence from the ground up:
1. Pre-Draw Checklist (done before the Shot Routine):
- Range target/Set your sight to the correct distance
- Load your arrow and clip your release
- Take a breath and mentally prepare
- Look at the target — visualize where you want the arrow to go
- Look down at your feet to start the Shot Routine
2. Check Shot Routine Boxes one at a time:
- Look to see if your STANCE is perfectly positioned
- Get the perfect position on the Bow GRIP
- Raise your bow arm smoothly and SET the SHOULDER
- Draw smoothly and ANCHOR along your jawline like a train on tracks
- Slightly adjust your head to ACQUIRE the PEEP
- Allow the string to find the tip of your nose
- Center your bow sight perfectly in the center of the peep
- Get the pin on the target and level up
3. Execution:
To execute the Shot Routine, I teach people to “trust the natural movement of the sight pin,” or “trust your float” and have patience — you’ve worked hard to get here:
- Maintain your form
- Slowly disengage the safety or shape your finger around the trigger
- Trust the float
- Begin your back tension — building more pressure on the release or trigger
- Think “PULL AND FINISH”
- Keep working the release until you get a surprise release
- Follow through naturally, pulling your release hand over your shoulder
Making It Flow
Don’t stop to think between steps. Let each step flow naturally into the next, like water finding its path downhill. Sometimes rehearsing the process helps it flow smoother: STANCE, GRIP, SHOULDER, ANCHOR, PEEP, PULL.

Start by practicing this sequence without actually shooting. Perform your Pre-Draw Checklist, then ready yourself for some dry runs. You can practice this without letting an arrow go — just keep your finger on the safety or behind the trigger.
Take a stance, get a grip, set the shoulder, draw, anchor, align the peep picture, then let down and repeat. Once you’ve programmed your muscles to understand the flow, you can start executing shots but focus on the sequence instead of where the arrow hits.
Be a Let Down? YES.
You can always cancel the shot and let down the bow if things aren’t right. It’s the best way to keep mistakes from happening on the range. Learning to let down is critical to reinforcing your self-image and not reinforcing poor habits.
Sometimes, things won’t feel right. Maybe your grip settled wrong, or your anchor is off. When that happens, don’t force the shot. Let down, reset, and restart your sequence.
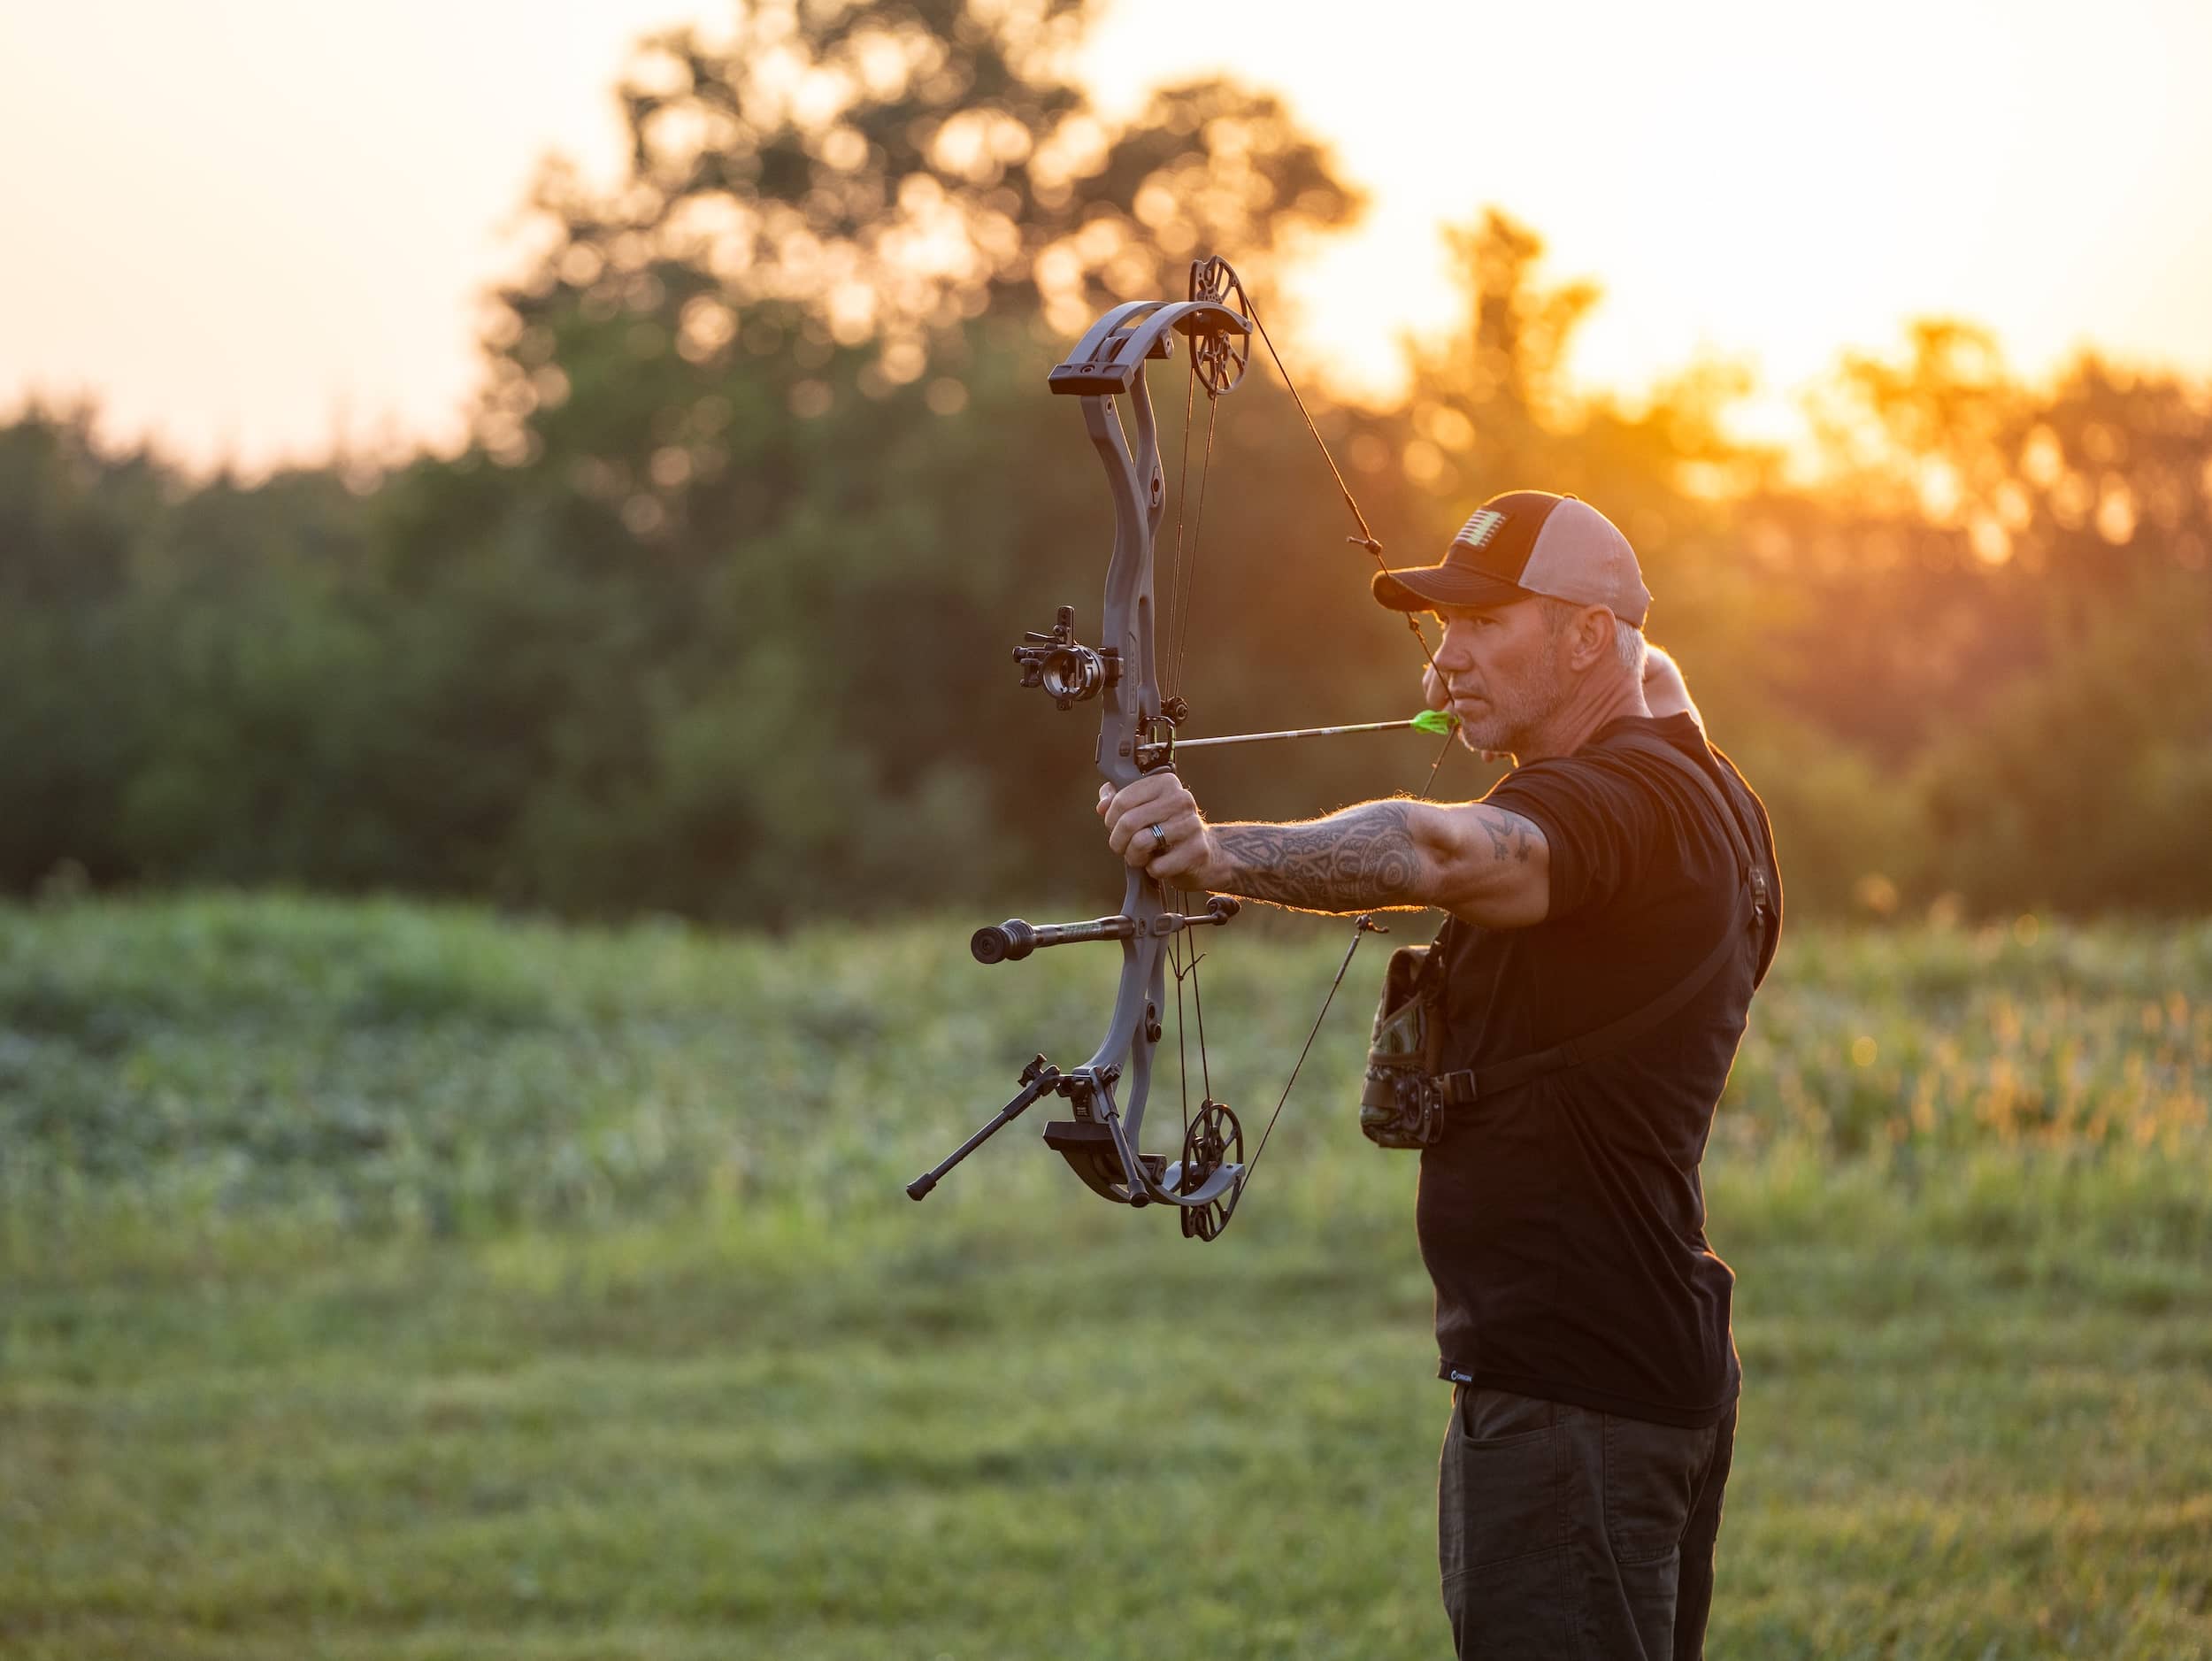
Perfecting Your Anchor
You might already know how to find your anchor point — that sweet spot where your release hand meets your jaw. But let’s dive deeper into what makes an anchor position not just good, but absolutely bulletproof.
The Release Hand Foundation
Think about how livestock always follow the same trail to their primary feed source. That’s how natural and repeatable your release hand position should be when finding its anchor. When you draw your bow, your hand should track along your jawline like a train on rails, settling into that perfect anchor position without conscious thought.
So many archers try to find their anchor point while also hunting for their peep sight, and neither ends up being done properly. Don’t fall into this trap. Your anchor always comes first. Only after you’ve locked in that perfect hand position should you think about turning your head to acquire your peep.
The 3 Points of Contact
A rock-solid anchor creates three distinct points of contact you can feel without thinking:

- Your index finger knuckle settling just under your jawline
- Your middle finger knuckle settling just above the jawline on your gumline
- The string making consistent contact with the tip of your nose
If any of these points feel forced or uncomfortable, something’s out of position. Reset and start again.
Common Pitfalls to Avoid
Watch out for these form-killers that can creep into your anchor position:
- Dropping your release hand below your jaw in an attempt to see through your peep
- Pressing the string hard against your nose instead of allowing light contact
- Letting your head posture change to accommodate a misplaced anchor
- String is down the side of the nose instead of in front of it
- Creeping forward with your release hand during your shot sequence
- Digging in too deep to the anchor with your release hand, causing excessive string and arrow pressure on your face
Keep your head position proud and strong throughout your shot, like you’re trying to look over a high fence edge into a food plot. Let your release hand find its anchor, then slightly adjust your head position to acquire your peep sight.
Fine-Tuning for Perfection
Once you’ve established a consistent anchor, fine-tune other elements of your setup to match.
Your peep sight height should accommodate your natural anchor position, not force you to modify your form to see through it. Your draw length should allow you to maintain this position without stretching or cramping. In addition, you can adjust your D-loop length to make your fit absolutely perfect.
In short, everything in your setup should work together to make your perfect anchor position natural and repeatable.
Release Mastery
Mastering the release is about developing a systematic approach where every position or movement has purpose and control:
- Don’t use a handheld release like brass knuckles.
- Keep the back of your hand flat, not rounded into a fist.
- Let the release rest naturally across your middle row of knuckles.
- Grip the release aid firmly and pretend like holding onto a wire for dear life. A relaxed grip can cause the bow to pull the release out of your hand if you relax your grip (which is why we always use safety lanyards!).
- Maintain about 60%–65% of the pressure on your index finger. For two-finger releases, the load balance will be on the middle finger.
Common Pitfalls to Avoid
Watch out for these release execution killers:
- Anticipating the shot and dropping your bow arm
- Changing your release grip pressure during execution
- Forcing the shot instead of letting it happen
- Relaxing your form once you start your execution sequence
Training Smart: From Practice to Performance
I’ve seen it happen time and time again in my years of coaching: an archer gets their first taste of success with their new shot sequence, and suddenly, they’re flinging arrows like they’re trying to empty their quiver before dark.
While that enthusiasm is great, you need to pace yourself.
Every arrow you let go of is another rep. Are you logging perfect reps, or are you just adding more mistakes to your technique?
Quality Over Quantity: The Two-Arrow Rule
Try a practice session with just two arrows at a time to maximize the quality of each shot.
Think of it like hunting: You don’t get ten chances at that mature buck. You get one shot, maybe two. Make them count.
Take those two shots, focusing on perfect execution. Visualize a perfect arrow, close your eyes, recite the shot process in your head, then make it happen.
Then, pull your arrows and process what you did. Did your sequence flow naturally? Did you maintain back tension through the shot? Were you surprised when the release broke?
If not, reimagine the shot again, but done perfectly. Rewrite the program in your brain. Mental replay is just as valuable as physical practice.
When you execute your sequence perfectly on both shots and become more fluid, add a third arrow. If you feel your form slipping on that third shot, go back to two arrows for your next end.
Reading Your Body’s Signals
Watch out for these physical signs of fatigue:
- Front shoulder creeping up between shots
- Vision distorting on target or sight pins
- Consciously forcing your bow arm down
- Anchor position starting to float
- Release execution becoming conscious rather than natural
- Any sense of impatience
When you spot these signs, it’s time to rest, maybe for the day. You’re building muscle memory here, so it’s better to end a session early than to ingrain bad habits while pushing through fatigue. Every arrow is an imprint, so make sure you add more positive imprints than negative ones.
Recovery is just as important as training. Your archery muscles need time to adapt and strengthen, just like you need time between hunts to let a stand location cool off. Here’s what I’ve found works:
- Start with practice sessions every other day
- Keep initial sessions short (15–20 minutes)
- Focus on sequence quality over arrow count
- Listen to your body and adjust accordingly
Bringing It All Together: The Path to Archery Excellence
The journey we’ve covered here — from stance to execution — isn’t just a series of steps to memorize. It’s a foundation that’ll serve you for a lifetime.
I’ve boiled my 40 years of archery down to these steps. They’re the pillars of perfection. I can close my eyes, recite my routine, and manifest every detail: STANCE, GRIP, SHOULDER, ANCHOR, PEEP, and PULL!
These critical threads bring it all together:
Patience in the Process
You can’t rush proper form development.
Every step builds on the one before it: your anchor point becomes muscle memory; your grip settles into that perfect position without conscious thought; your release execution becomes as natural as breathing.
But it all takes time — and that’s okay.
Each rep is an imprint. In practice, you’re writing the code for your AI (that’s “Archery Intelligence,” by the way) so make sure you write the right code.
Mindful Practice
Every arrow you shoot teaches your body something. Make sure it’s teaching the right lessons.
When your form breaks down, when fatigue sets in, or when things just don’t feel right, that’s your signal to rest, reset, and come back fresh. Quality always trumps quantity.
Technical Foundation
Understanding the “why” behind each element of your shot process is crucial.
Your draw length creates a specific triangle of force. Your anchor position determines your consistency. Your release execution affects everything from accuracy to arrow spine reaction.
Knowledge builds confidence, and confidence builds success.
The Road Ahead
Whether you’re working with a tournament bow or a hunting rig, these fundamentals remain the same. The archer who can execute a perfect shot process under pressure will always outperform the one who’s just hoping for the best.
Stay focused on these key takeaways:
- Build your foundation one step at a time
- Listen to your body and train smart
- Trust the process and be patient with your progress
There’s no such thing as “good enough” when it comes to form. “Good Enough” is mediocrity plain and simple. Even after decades in this sport, I still find ways to improve. That’s the beauty of archery — there’s always another level to reach for.
There’s no better feeling than finding the flow state, and this process has got me there more than anything I’ve tried.
Whether you’re dreaming of your first bull elk or your first tournament victory, the path starts with these fundamentals. Master them, respect them, and build upon them. The results will follow.
