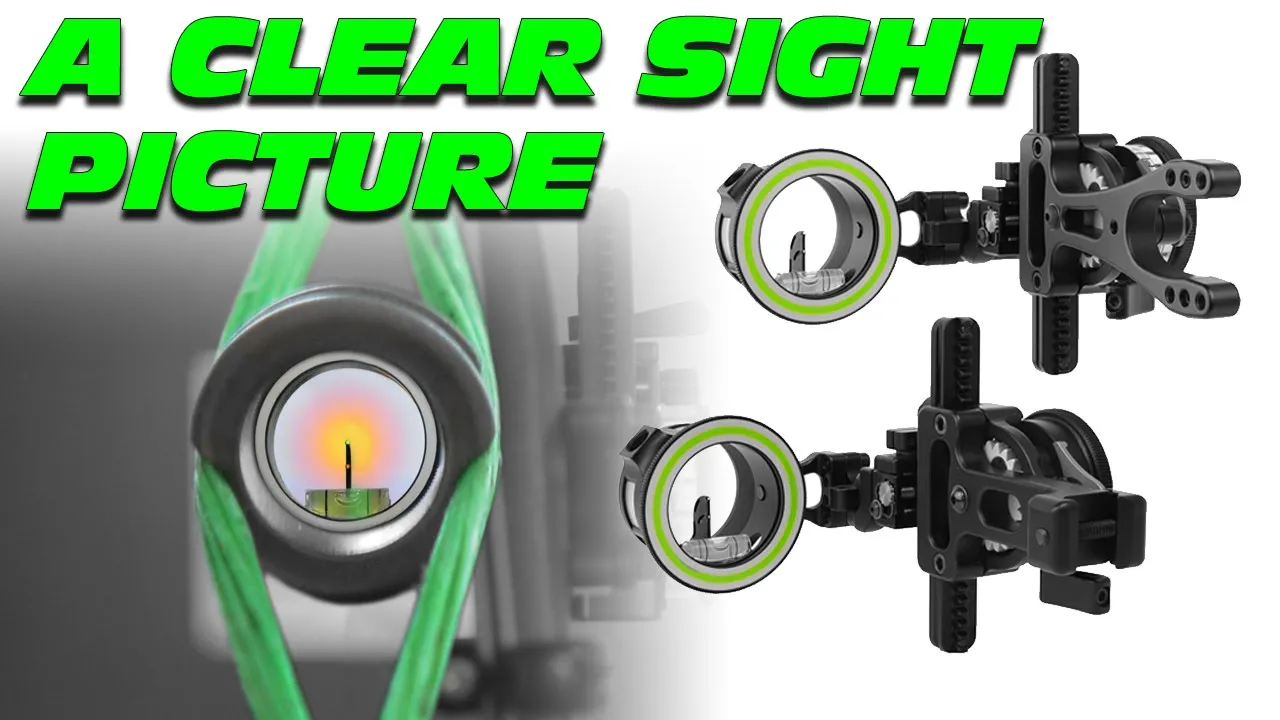
Have you ever drawn back your bow, settled into your anchor point, and found your bow picture partially blocked by your riser or cables? If so, you’re experiencing one of the common side effects of modern compound bow design – particularly with the newer inline mounting systems. As frustrating as this can be, there are solutions to get you back to a clean, unobstructed bow picture for more confident shooting.
After decades of bowhunting and competing, I’ve found that bow picture clarity is one of those subtle factors that dramatically impacts shooting confidence. When something doesn’t look right through your sight, it throws off your entire shot process. Let’s dive into what causes these obstructions and how to address them.
The Evolution of Bow Picture Systems and Mounting Options
Traditional compound bows featured sight mounts that attached to the side of the riser. This mounting position generally provided a clean bow picture since the sight housing sat completely outside the riser’s profile. However, bow design has evolved significantly over the past few years.
Many manufacturers have shifted to what they call “inline” or direct-mount systems – essentially Picatinny-style rails machined directly into the front face of the riser. These systems offer certain advantages: they create a more balanced setup by positioning the sight’s weight closer to the bow’s centerline, and they often provide a more stable mounting platform.
But this design shift comes with a trade-off. The positioning of these rails, combined with changes in riser geometry, can create situations where part of your scope housing gets hidden behind the riser itself or where cables intrude into your bow picture.
The combination of your sight, how it mounts, and the depth of your bow model’s sight window are all going to factor into your bow picture. These are cause-and-effect relationships you need to understand.
What’s Causing Your Obstructed Bow Picture?
Several factors contribute to bow picture obstruction with modern bows:
1. Thicker Risers in Modern Designs
Many newer bow models feature beefier risers with more material in the sight window area. This added “meat” on the riser provides structural benefits but creates less clearance for your line of sight. One manufacturer actually had to develop the inline mounting system because their riser had become so thick that side-mounted sights couldn’t be adjusted far enough left (for right-handed shooters) to achieve proper centershot.
2. Cable Position and Movement
The position of your bow’s cables and the type of cable guard system used can significantly impact your bow picture. Some cable guards use flexible rods that allow the cables to bend inward during the draw cycle. While this reduces torque on the system, it can push those cables right into your line of sight.
When I’m evaluating a setup for a hunter or competitor, I always check both at rest and at full draw. What looks clear in the shop may become obstructed when you’re at full draw in the field.
3. Sight Housing Size and Mounting Block Design
The physical dimensions of your sight housing matter tremendously. Larger scope housings, while offering benefits like more light gathering and a wider field of view, cut off more of your bow picture when paired with inline mounts.
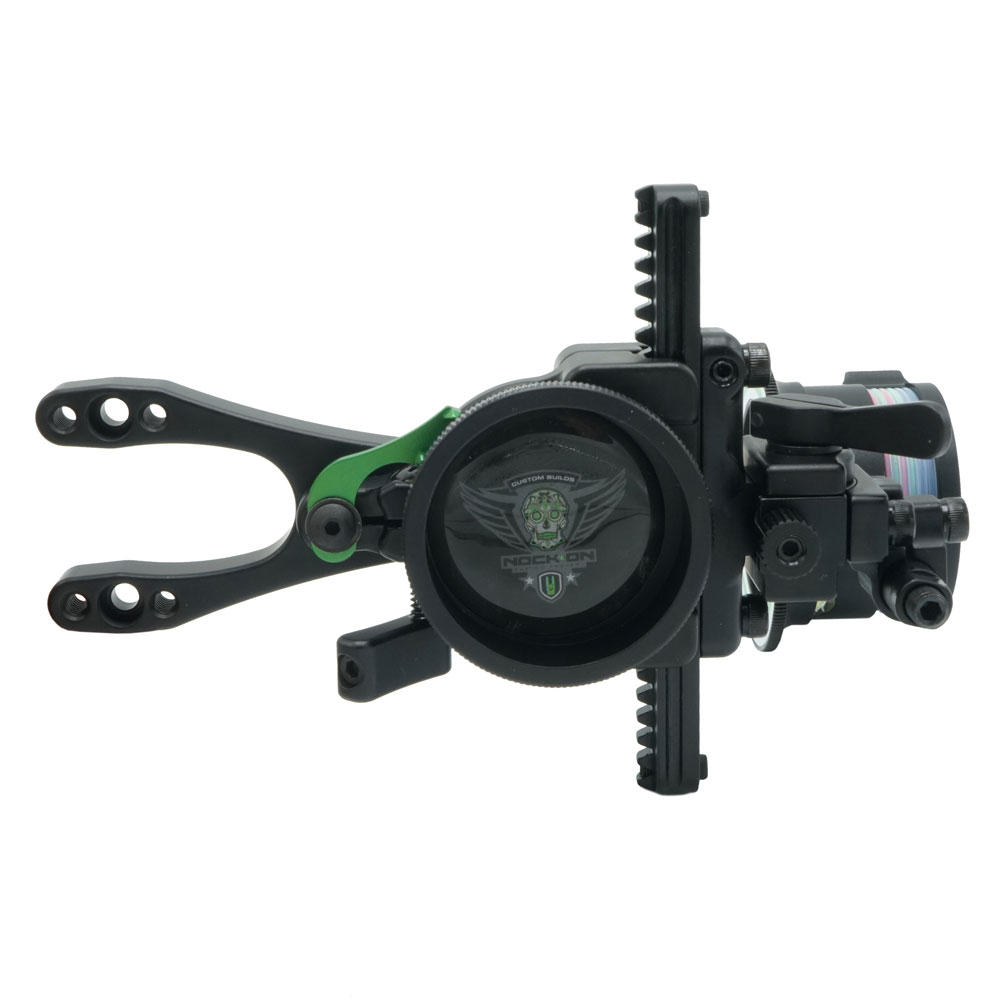
Additionally, the mounting block on many inline-compatible sights – the chunk of metal where the attachment screw passes through – can itself intrude into your bow picture. This creates a frustrating scenario where the very component designed to improve your sight mounting is actually obstructing your view.
Practical Solutions to Improve Your Bow Picture
After wrestling with these issues myself, I’ve developed several practical approaches to create a cleaner bow picture:
Offset Rails for Better Bow Picture Clarity
On my bow, I built an offset Picatinny rail that shifts the entire mounting surface to the left (for a right-handed setup). This simple modification moves the sight housing further away from the riser’s edge, dramatically improving clearance without changing how the bow shoots.
This approach requires some machining capability, but many pro shops can help implement similar solutions with offset mounting brackets or custom-machined adapters.
Strategic Sight Selection for Optimal Bow Picture
Not all sights are created equal when it comes to clearance issues. Some manufacturers design their mounting blocks specifically to minimize obstruction with inline systems. Look for sights with:
- Slimmer mounting blocks on the inside edge
- Adjustable dovetail extensions that provide lateral adjustment
- Housing designs that place the scope further from the mounting point
When choosing a new sight, I always recommend mounting it on your specific bow model and checking the bow picture before making a final decision. What works perfectly on one bow might create obstruction issues on another.
Traditional Side-Mounting for Clear Bow Picture
Despite the trend toward inline systems, I often still prefer mounting my sights on the side of the riser. You’ve probably noticed on a lot of my setups, I’m still mounting my rest and my sight on the outside of my riser. I actually just love the bow picture and my visual look that I’m getting with that traditional mounting system.
This approach might seem old-school, but it consistently delivers a clean, unobstructed view that lets me focus on execution rather than fighting with visual distractions.
How to Test Your Bow Picture Before Purchasing
Before investing in a new bow or sight system, take the time to properly evaluate how they work together. Here’s my process:
- Visit an archery shop that allows you to test equipment
- Have the bow set up properly for your draw length and weight
- Get the sight zeroed at a reasonable distance (20-30 yards)
- Take several shots while paying specific attention to your bow picture
- Check for obstructions from the riser, cables, or mounting hardware
- If possible, try different sight models on the same bow
Go into an archery range, grab a bow that’s set up, take it into the range and be able to shoot it. Make sure you’re zeroed in and your sight’s adjusted left and right properly so that you’re impacting where you need to impact. And take a look at what that sight window and that bow picture offers you.
Quick Tips for Better Bow Picture Quality
To summarize the key factors for improving your bow picture:
- Consider traditional side-mounting for the clearest possible view
- Test different sight housing sizes – smaller housings often create less obstruction
- Check cable position at full draw, not just at rest
- Look for sights with slim mounting blocks designed for better clearance
- Test different mounting positions before finalizing your setup
- Consider custom offset mounts if standard options don’t work
Conclusion: Finding Your Clear Bow Picture
The perfect bow picture is highly personal – what works for me might not work for you. Some archers don’t mind seeing a bit of their riser or cables in their peripheral vision, while others (like myself) prefer a completely unobstructed view.
The key is understanding the cause-and-effect relationships between your bow’s design, your sight’s mounting system, and the resulting bow picture. With this knowledge, you can make informed decisions about equipment selection or modifications to create the clearest possible view.
Remember, a clean bow picture isn’t just about aesthetics – it directly impacts your confidence and consistency as an archer. Take the time to get it right, and you’ll see the results downrange where it matters most.
Whether you choose an inline system with modifications, a traditional side mount, or something in between, focus on creating a bow picture that lets you concentrate on your shot execution rather than fighting with visual distractions. Your accuracy will thank you.


 massmonopoly