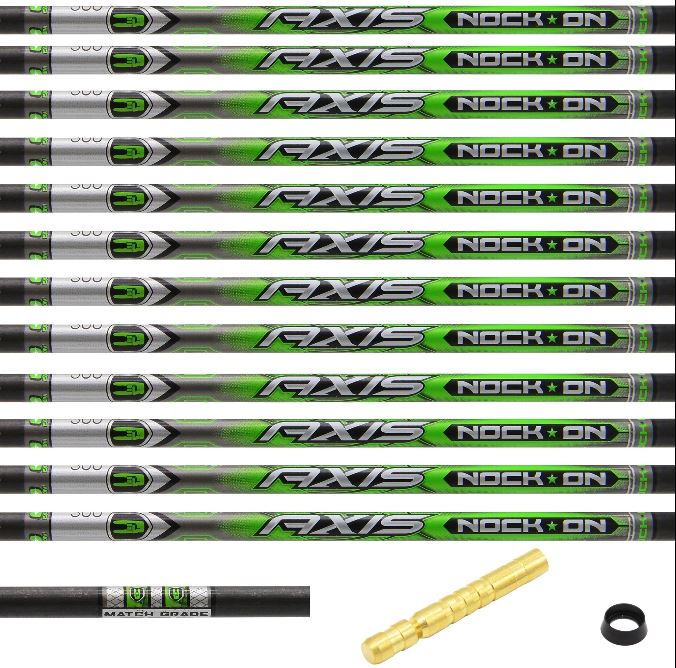
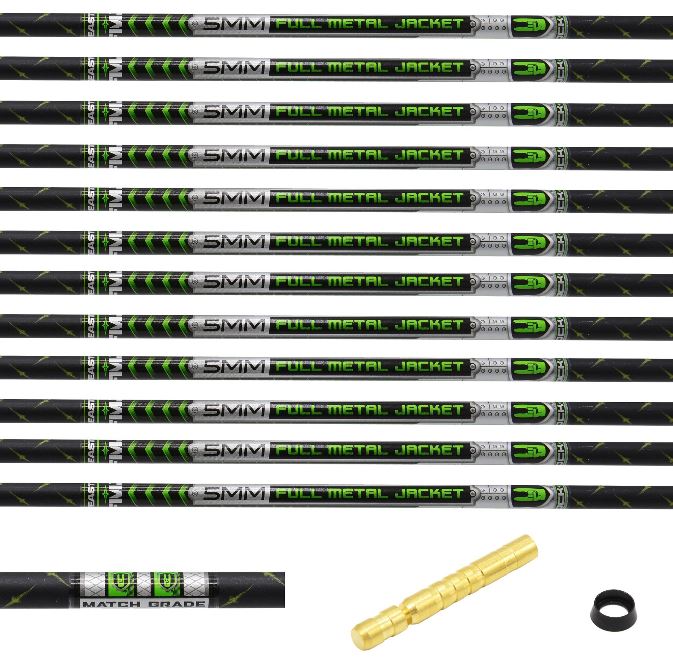
Your groupings will never outperform your arrow selection. After testing thousands of setups over decades of shooting, I’ve found that even elite-level archers handicap themselves with improperly spined arrows. Understanding how to use an arrow spine chart correctly is fundamental to archery success. When that carbon shaft flexes incorrectly through the shot cycle, it creates inconsistency no amount of perfect form can overcome.
Arrow spine—the measurement of how much your shaft bends under pressure—isn’t just another spec on the box. It’s the foundation of a tuned setup that delivers broadheads to the exact same point of impact as your field points. Miss this critical matching process using an accurate arrow spine chart, and you’re limiting your effectiveness regardless of how well you execute.
Let’s break down exactly what you need to know to select the perfect arrow spine for your setup using manufacturer arrow spine charts.
The Three Critical Numbers You Need for Arrow Spine Selection
Before diving into any arrow spine chart, you must gather three specific measurements. These aren’t approximations or “close enough” numbers—they need to be exact.
Your Actual Peak Draw Weight
The force driving your arrow determines how much that shaft will flex upon release. Don’t rely on what your bow’s limb sticker says or what you think you’re pulling. Put a digital scale on that string and get the precise peak weight.
I’ve seen just 3-4 pounds difference completely change how an arrow responds through the shot cycle. At my current 67-pound draw weight, jumping to 70 would push me into a different spine category entirely on the arrow spine chart.
Your Cut Arrow Length
Arrow length directly impacts stiffness—shorter arrows behave stiffer while longer shafts flex more. Measure from the nock groove (where the string sits) to the end of the cut shaft—not to the end of your broadhead and not based on your draw length.
This measurement needs to be exact because every inch matters when calculating proper spine using an arrow spine chart.
Your Point Weight
That 100, 125, or 150-grain broadhead isn’t just affecting your kinetic energy—it’s a key factor in determining proper spine. More weight up front causes more flex during the shot, requiring a stiffer shaft to compensate.
This number becomes especially critical when switching between broadhead weights during hunting season or when moving to heavier target points for certain competitions.
Understanding How to Read an Arrow Spine Chart
The physics of arrow flight create predictable relationships you need to understand when reading an arrow spine chart:
- More draw weight = more shaft flex (requiring stiffer spine)
- Longer shaft length = more flex (requires stiffer spine)
- Heavier point weight = more flex (requires stiffer spine)
These aren’t independent variables—they work together to determine exactly how much your arrow will bend during the shot cycle.
Using Arrow Spine Charts Correctly
Every arrow manufacturer provides arrow spine charts, but here’s where many archers go wrong—these aren’t standardized across the industry. A 340 spine from one brand may not match a 340 from another.
Here’s how to use an arrow spine chart effectively:
- Find the specific chart for your preferred arrow brand
- Locate your exact draw weight (typically shown in the left column)
- Find your precise arrow length (usually shown across the top)
- Factor in your point weight (often shown as different charts or with adjustment factors)
- The intersection point will show your recommended spine value
Common spine values you’ll see on most arrow spine charts include:
- 600-500: Typically for lower draw weights (25-45 lbs)
- 400-340: Medium draw weights (45-65 lbs)
- 300-250: Higher draw weights (65+ lbs)
Example: Using an Arrow Spine Chart in Practice
Let’s walk through a real example of using an arrow spine chart:
For an archer shooting:
- 65-pound draw weight
- 29-inch arrow length
- 100-grain point
Using a typical arrow spine chart, this setup would likely require a 340 spine arrow. However, if that same archer increased to a 125-grain point, the chart might recommend moving to a 300 spine for optimal arrow flight.
The Bottom Line
Proper arrow spine selection using an accurate arrow spine chart is non-negotiable for consistent accuracy. No matter how perfect your form or how expensive your bow, shooting with incorrectly spined arrows undermines everything else in your setup.
Take the time to gather these three exact measurements, consult the correct manufacturer’s arrow spine chart, and match your arrows precisely to your setup. Your groups will immediately reflect the difference.


 massmonopoly